FREE DELIVERY ABOVE $60

Posted on Leave a reply

Bread Making

Bread Making

By: RedmanShop | February 19, 2025

Introduction

Bread comes in various varieties, shapes, and sizes, using multiple dough-making processes. Straight Dough/No Time and Straight Dough Bulk Fermented are the two most common bread-making processes.

Due to their complexity, this guide does not cover other styles, such as Sponge and Dough, Pre-fermented Doughs, and Autolyse. Successfully mastering the two types mentioned will enable you to explore more complex methods later.
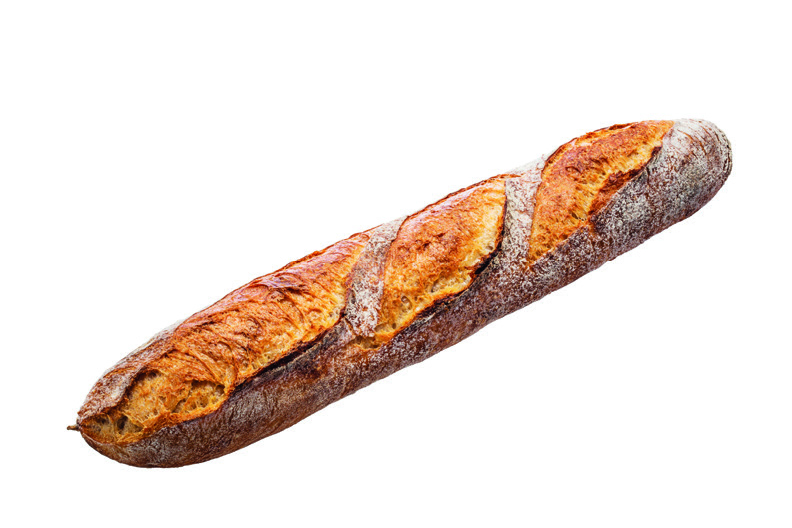
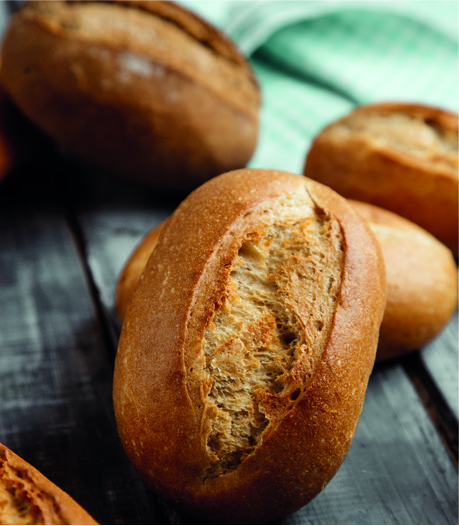
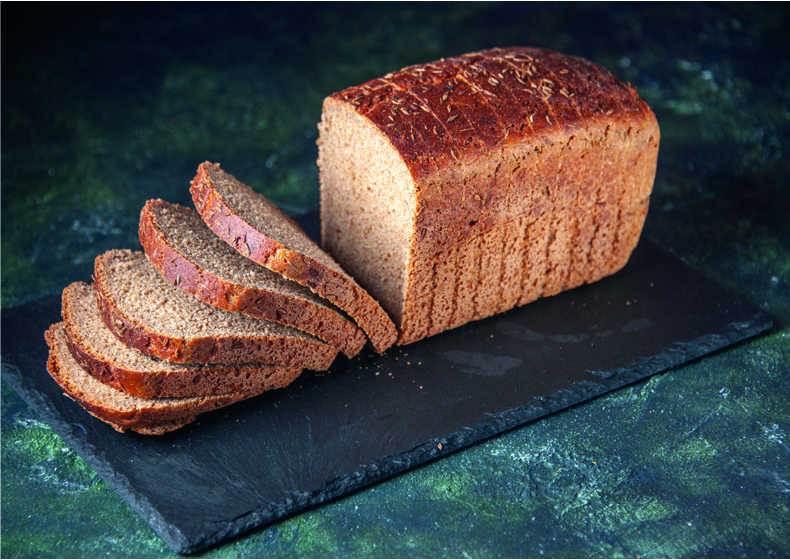
Lean Bread

Flour, Salt, Yeast, Water, Sugar, Fat Bread contains little or no sugar or fats.
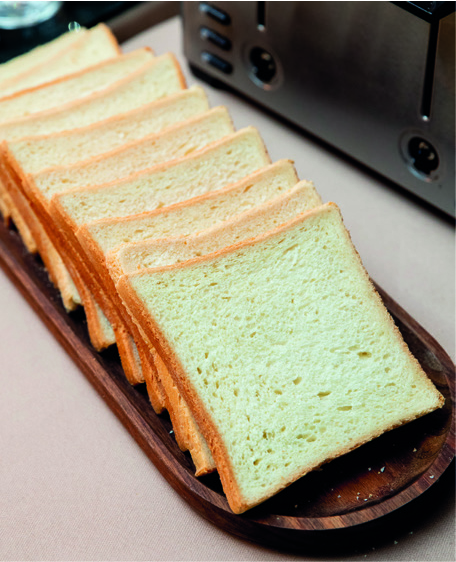
 

Enriched Bread

Flour, Salt, Yeast, Water, Sugar, Fat
Bread with an increased level of sugar and fats.
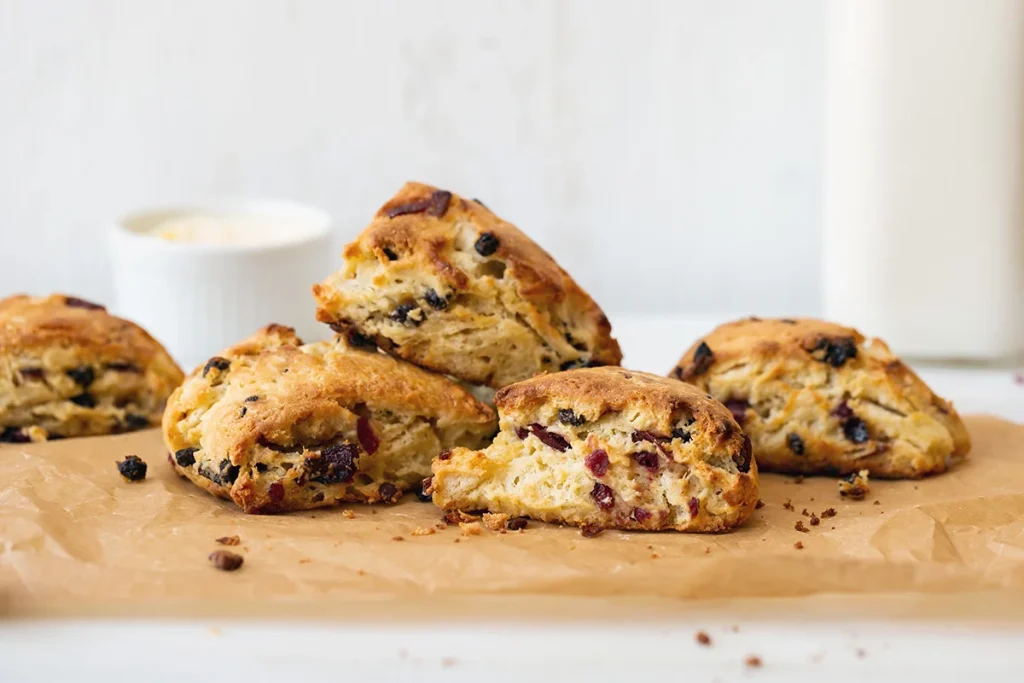
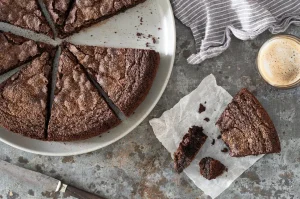
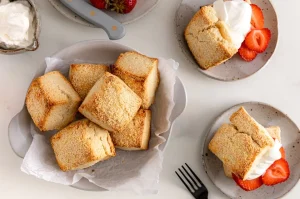
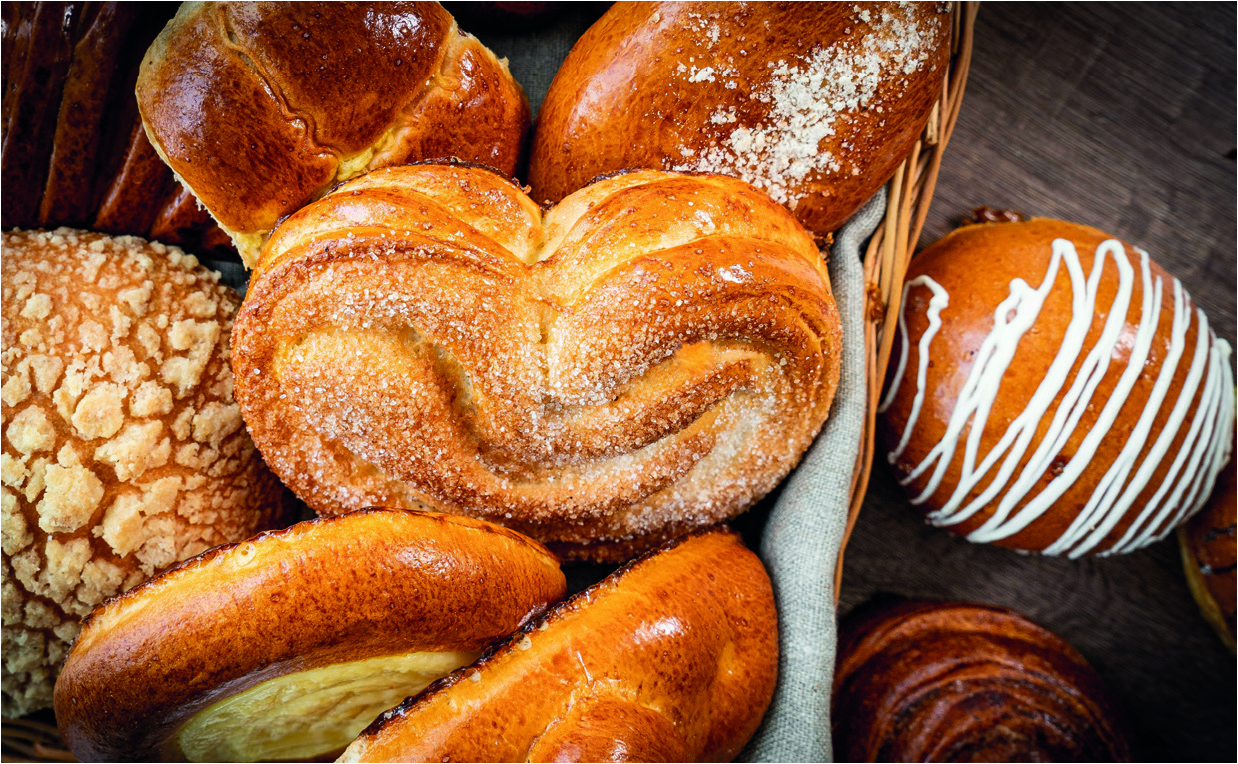
Rich Sweet Bread

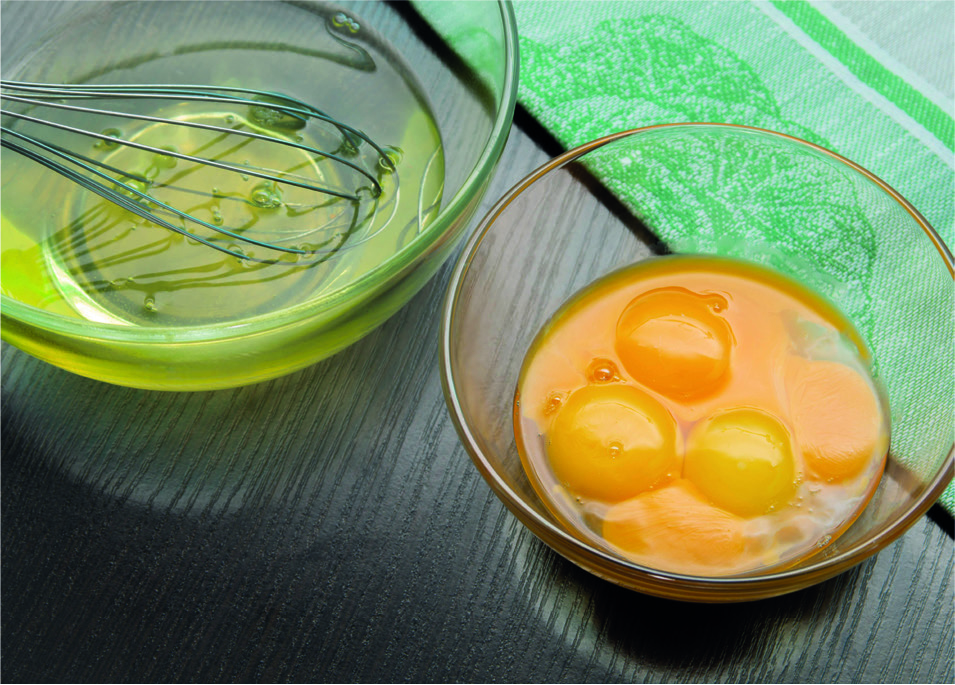
Flour, Salt, Yeast, Water, Sugar, Fat, Eggs
Bread with higher levels of Sugar, Fats and Eggs to improve softness.

Must Know

All the bread listed can have White or Wholemeal flour as their base or combinations.

Dough Making Methods

Straight Dough/ No Time or Instant dough

Straight Dough means all ingredients are mixed simultaneously to the fully developed stage. “No Time/ Instant” means that the dough does not have a long fermentation time after mixing before processing. After a short rest period, the dough is scaled, rounded, rested, shaped, proofed, and baked. The Baked Bread is available approximately two hours after the weighing, processing, preparation and baking.

Straight Dough / Bulk Fermented

The mixing process is the same as the No Time dough at the mixer stage. The mixed dough is left to stand for its ‘Bulk Fermentation’ period. During this stage, the flour proteins mellow, relax and become more extensible. The length can vary from 45 minutes to two hours or more, depending on yeast levels and the style of bread. The dough is then knocked back (degassed by punching the dough). It is scaled, rounded, rested, shaped, proofed and baked. The Baked Bread is available approximately three to four hours after mixing the dough. The total time will depend on how long the bulk fermentation stage is.

Must Know

Bulk Fermented doughs finish colder and contain less yeast as the longer standing times enable more yeast activity. This activity mellows the flour and lowers the pH resulting in better flavour and a softer internal crumb.

Use of Dough conditioner/ Bread improver

The No Time dough has an added ingredient (Dough conditioner/ bread improver) that quickly mellows the flour proteins as part of the mixing cycle and eliminates the longer fermentation time.

What does this Dough conditioner/ bread improver ingredient do?

Commercial bakers use it in the dough process to strengthen gluten, assist with yeast activity and mellow the gluten quickly. They also contribute to the bread’s shelf life.

Constituents of Dough Conditioner

The dough conditioner/bread improver is the composition of ingredients designed to improve the performance of the flour during the many processing stages and to enhance yeast activity through added yeast foods. These principal components are:

  • Ascorbic Acid (as a dough strengthener)
  • Enzyme Alpha-Amylase (assists fermentation)
  • Emulsifiers work on crumb softness (starch for soft bread) and crust hardness (protein for crusty bread).

Why is the use of a Dough conditioner important?

At the mention of the dough conditioner/ bread improver, many immediately think chemicals can’t be good for us! However, consider them a series of vitamins for the dough designed to enhance its performance and keeping qualities. Humans, after all, take vitamin pills for all sorts of applications and what are they comprised of, if not chemicals?

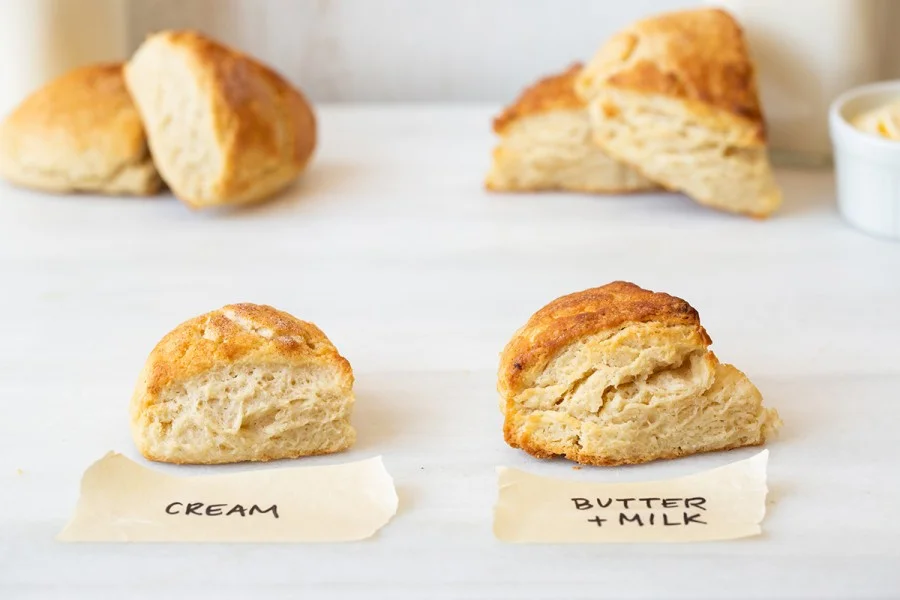
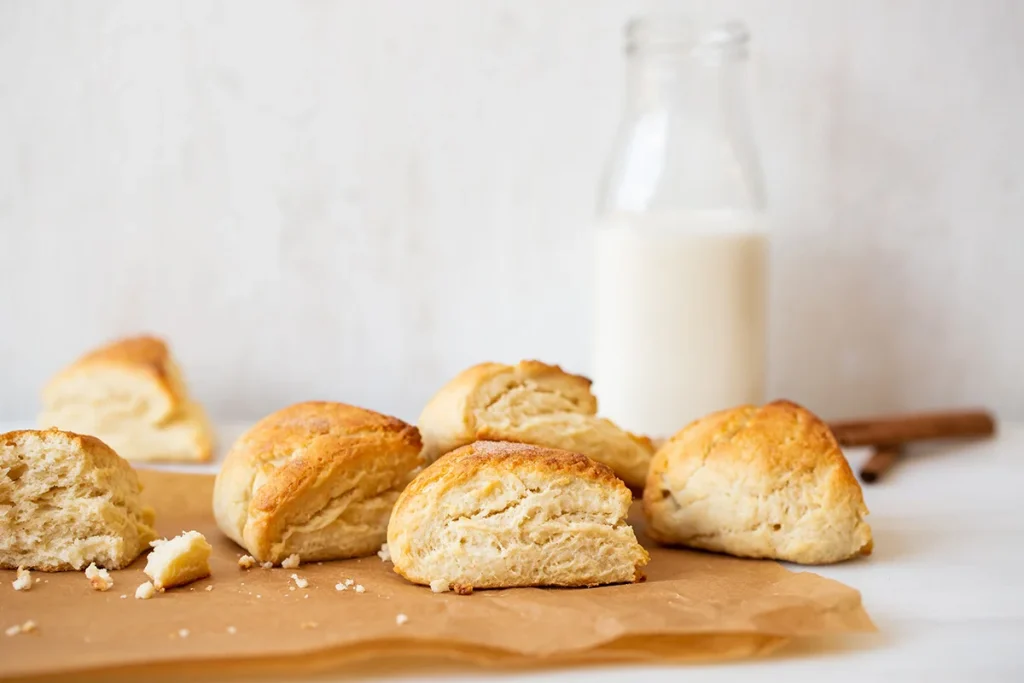
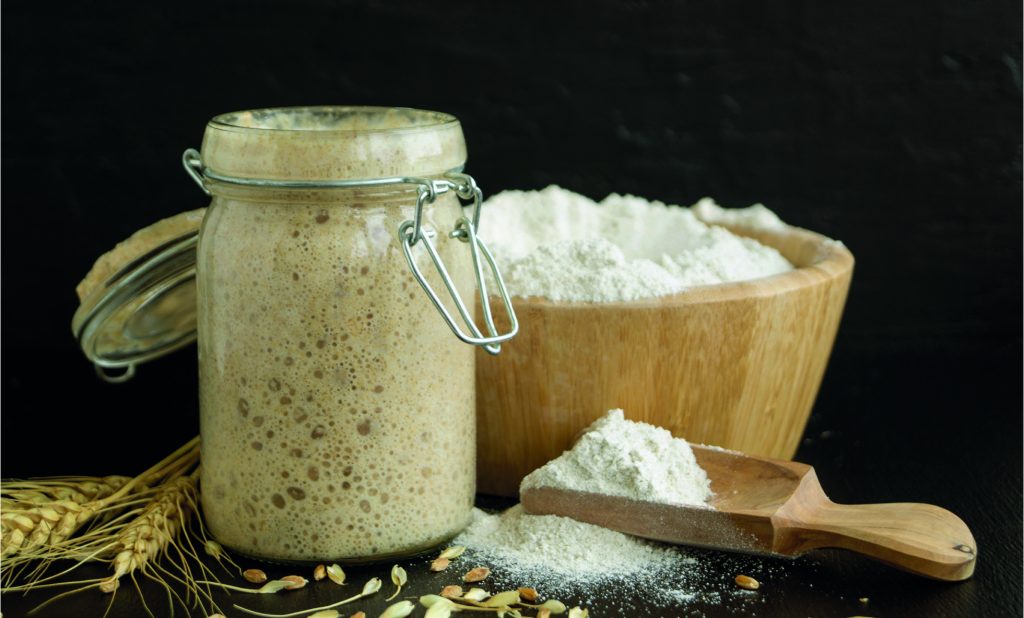
Ingredients in a Bread Formula

A Basic bread formula consists of Flour, Salt, Yeast and Water. Adding ingredients such as Butter, Eggs, Sugar, Dried fruits and nuts produce softer and moister bread.

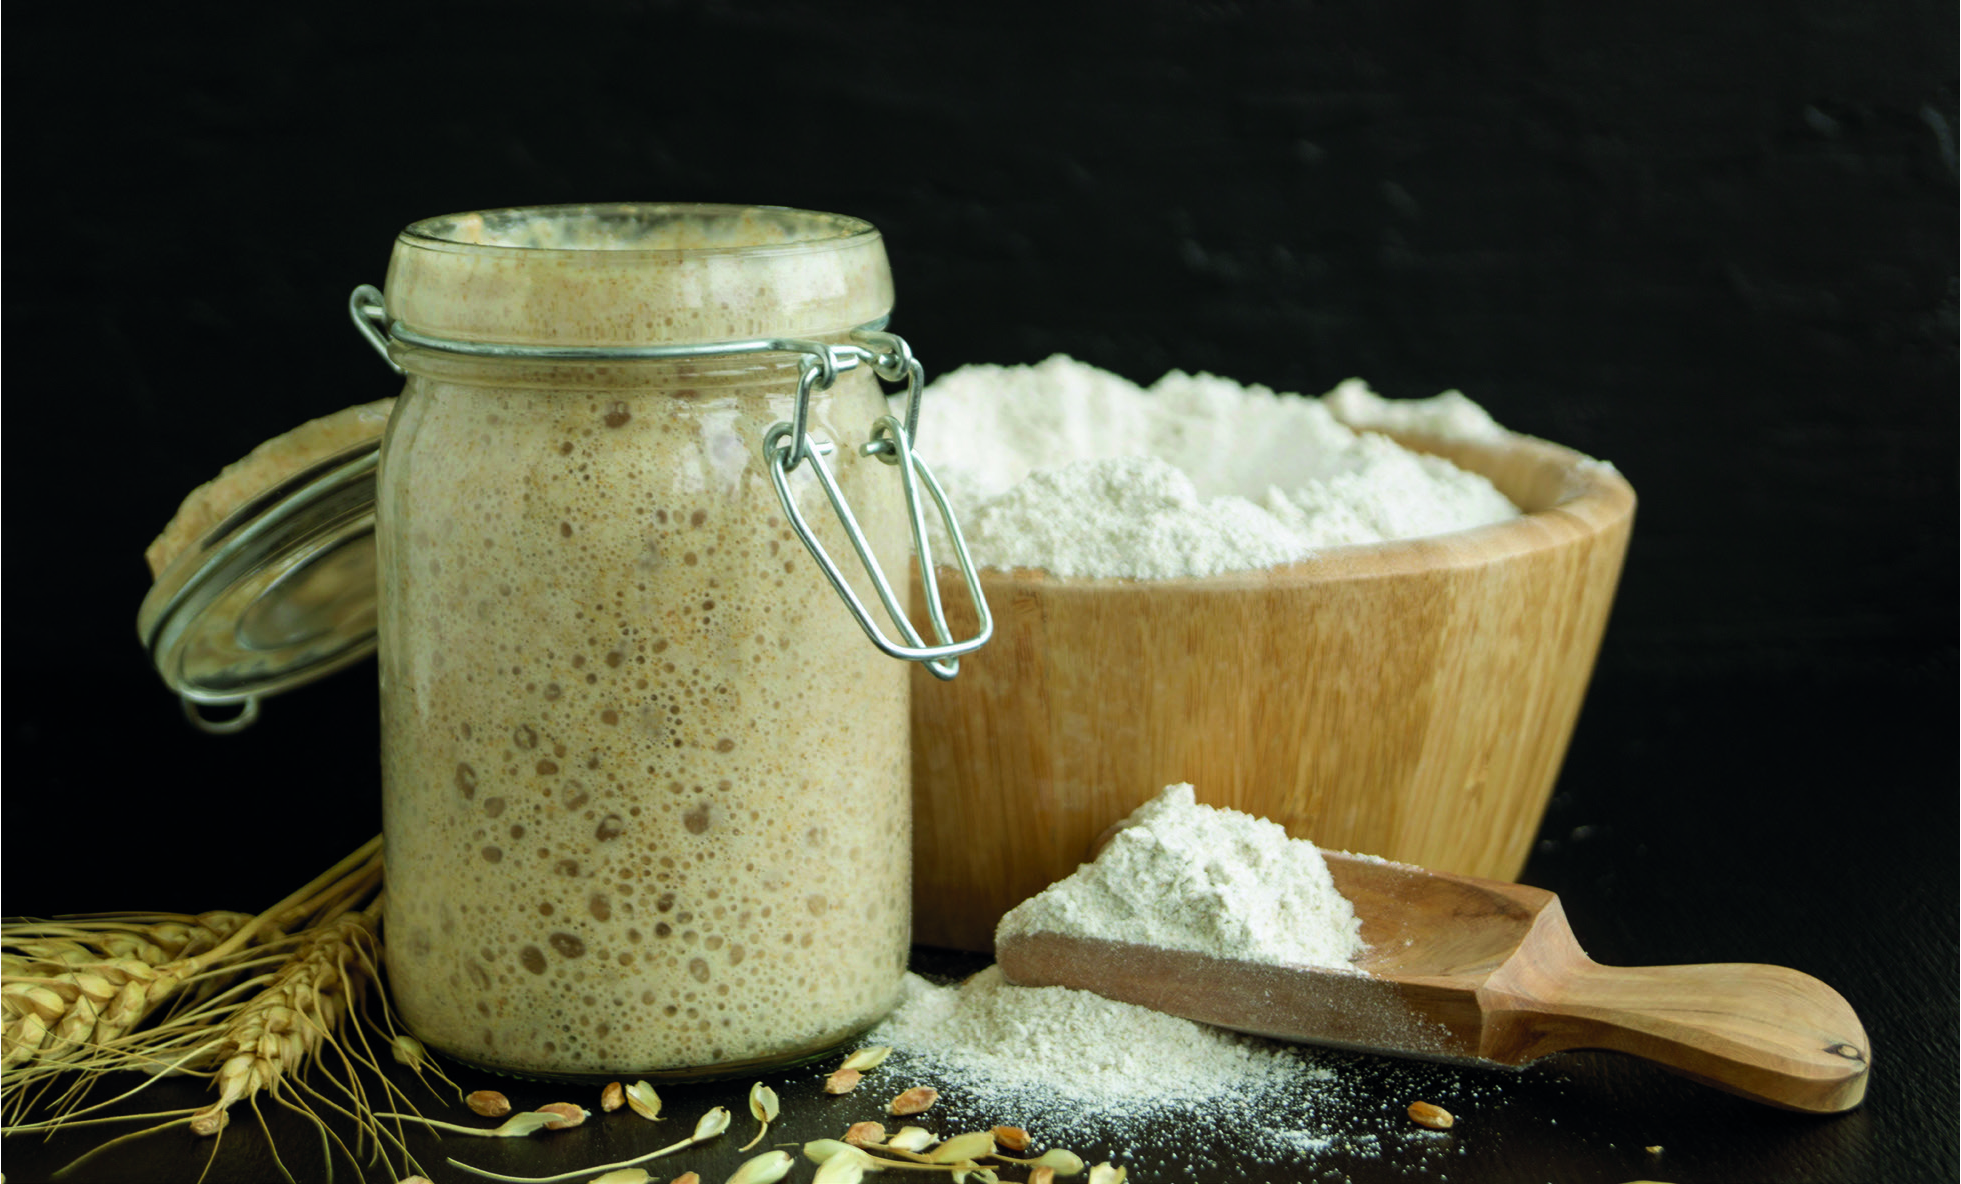
Flour – Bread – Wholemeal

High protein flour containing gluten level suitable for bread making. Gluten is the protein in the flour, which gives the dough structure. When you mix flour and water and knead it, you form the gluten (Think chewing gum, which gluten texture is like). The protein level for bread flour is, on average, 12-14%.

You can make 100% wholemeal bread or a mixture with white flour. Singapore’s 20% Wholemeal and 80% White ratio is a typical bread style. In other countries, the balance may be different. Wholemeal flour is now more acceptable to the consumer due to its fine particle size that does not have large bran particles.

Salt

Salt provides flavour, assists in gluten development, and controls fermentation rate (Yeast activity). The trend is towards sea salt instead of common table salt.

Yeast

  • Fresh compressed or Instant Active dried (used directly into the dough)
  • Active Dried yeast (requires rehydration in warm water before its use)
  • Instant Frozen dough yeast, available to commercial bakers

It is a living organism that helps the bread rise; it brings flavour and aroma to many types of bread, depending on the length of fermentation.

  • Yeast produces Carbon Dioxide CO2 as part of the fermentation stage, and a by-product of this is alcohol which brings flavours.
  • Longer fermentation times result in the development of organic acids, which also provide flavour.
  • Yeast is temperature sensitive, requiring water temperatures as a controller.
  • Yeast is also sugar sensitive, with two types available in specific dough types.
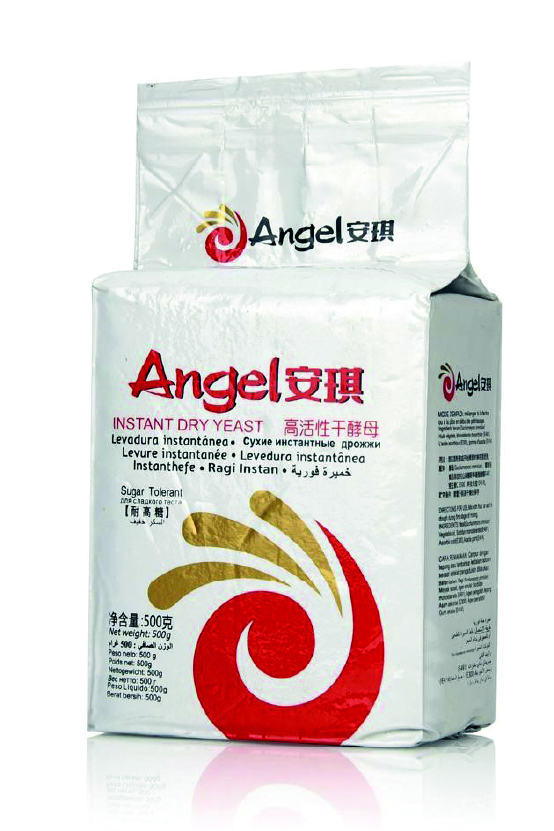
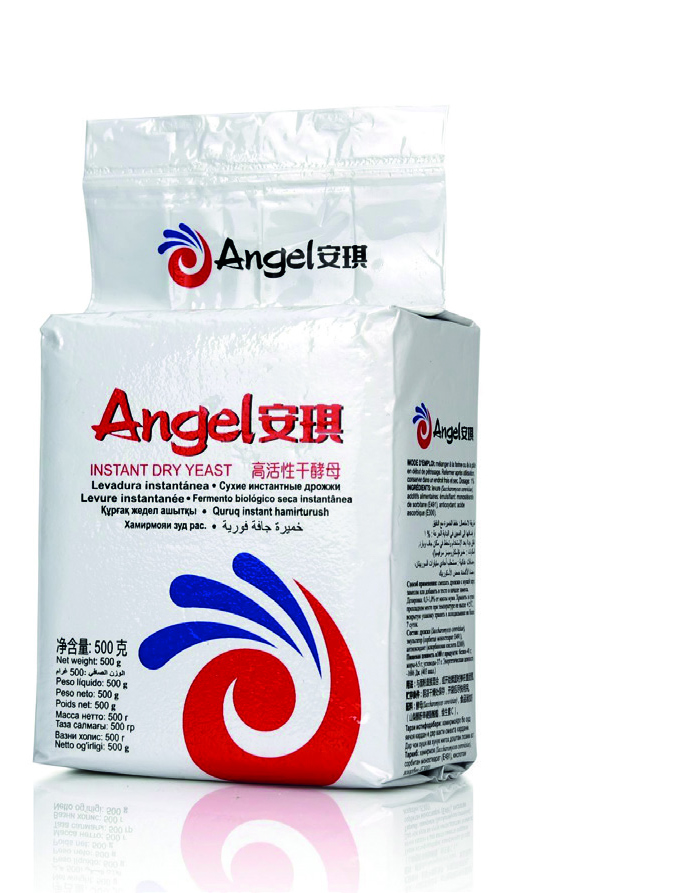
Yeast Packaging

  • Low Sugar – White packaging
  • High Sugar – Gold packaging

You will find that as there are many manufacturers, it pays to check the wording on the pack to get the correct one.
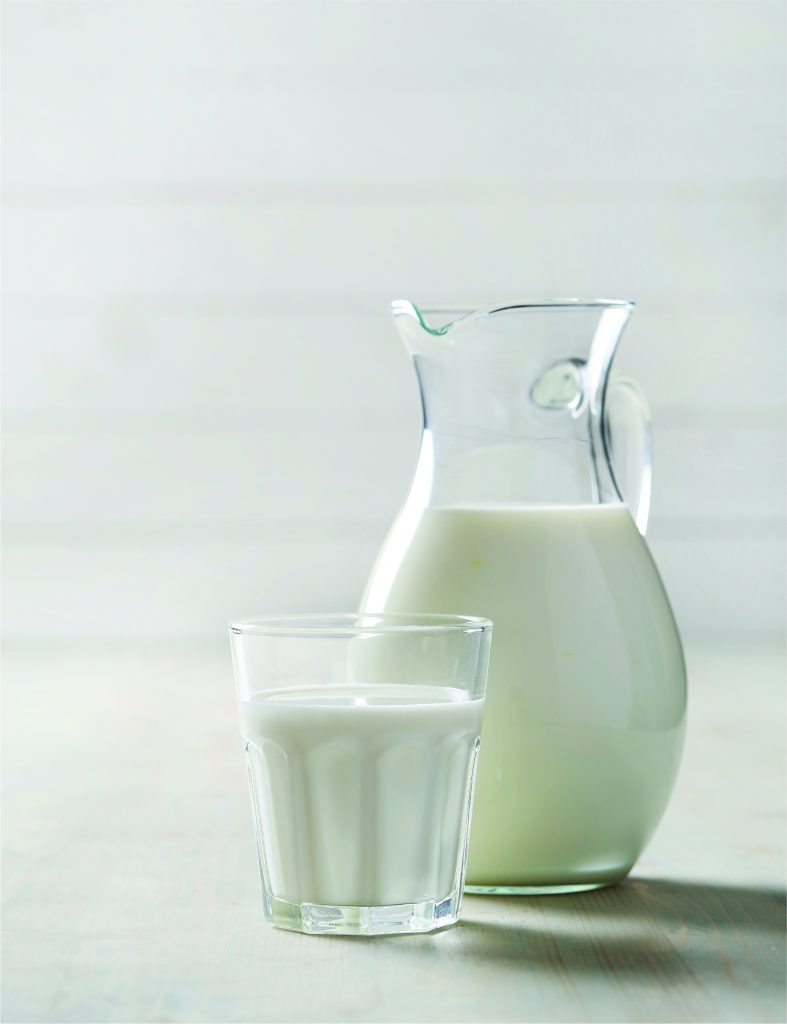
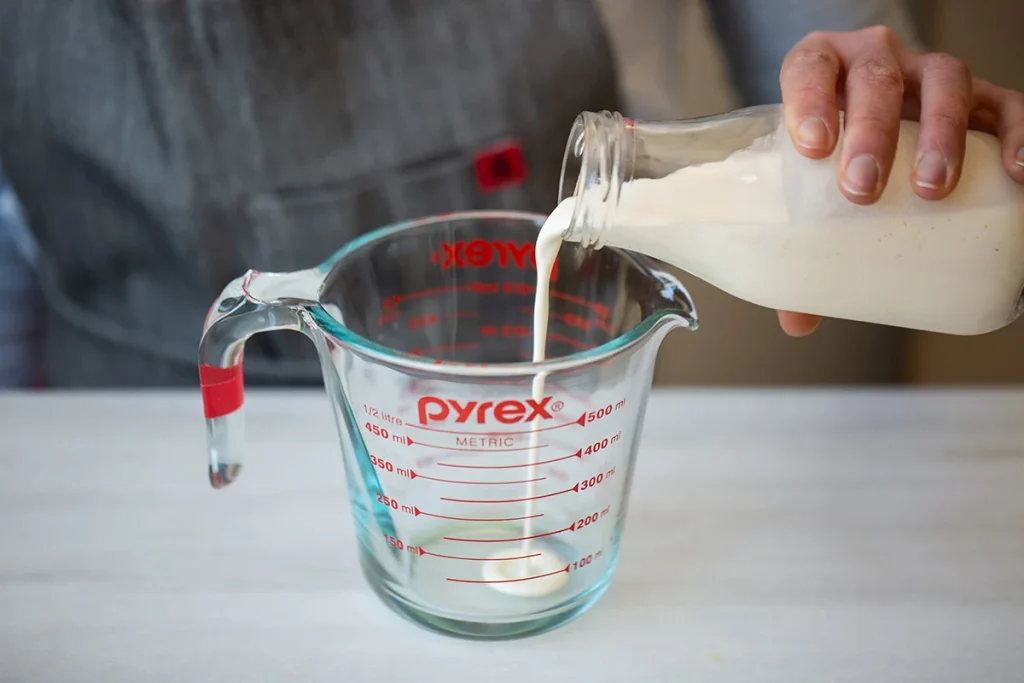
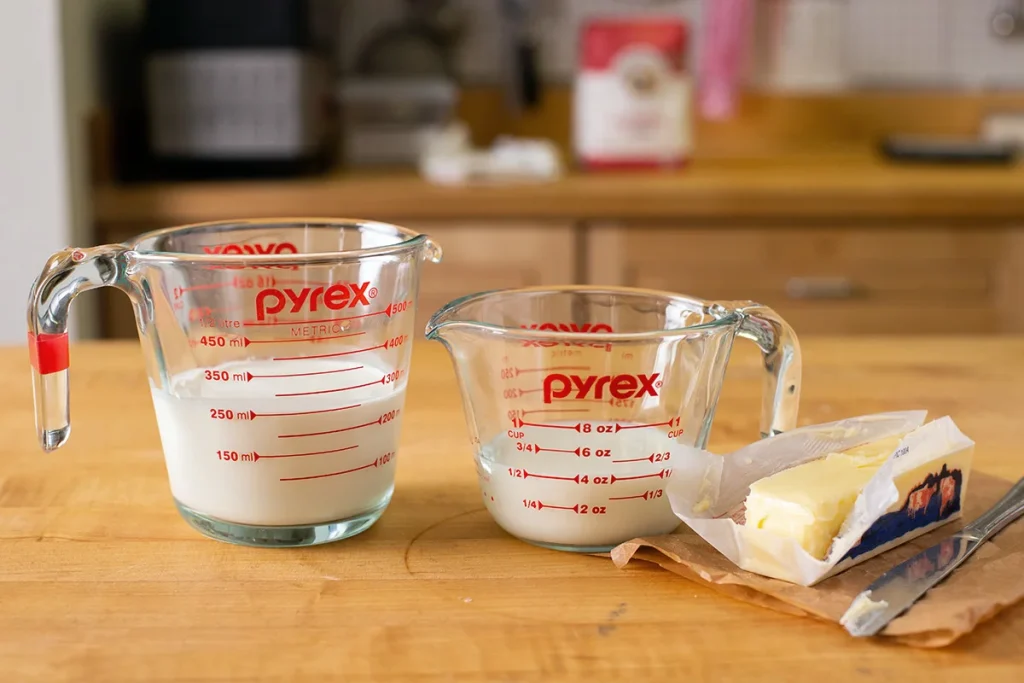
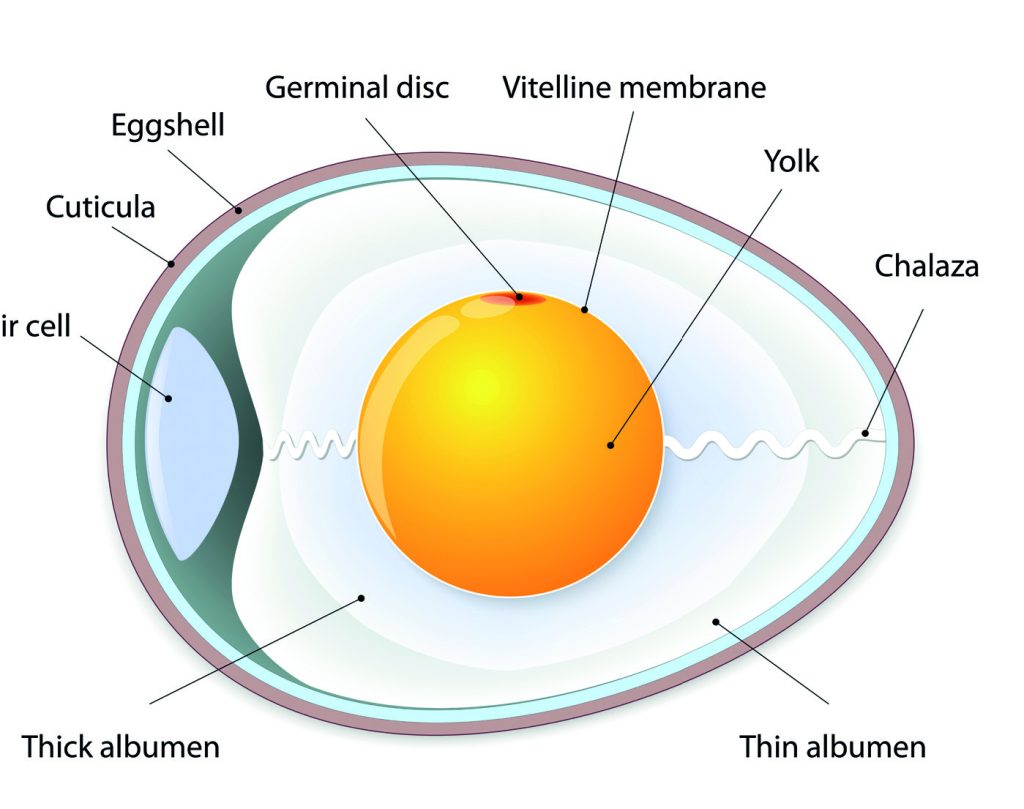
Water

Hydrates the flour to form a dough during mixing. The amount will depend on the dough type and flour protein content. Bread flour will hold more water than Plain flour, for example. The water temperature is vital as this will affect the dough temperature after mixing (Finished Dough Temperature).

Regular tap water is acceptable; sometimes, you may need to chill it before using it. While in temperate climates, you will need warmer water during the cooler months.

Posted on Leave a reply

Asian Soft Sweet Bread

Asian Soft Sweet Bread

By: RedmanShop | February 19, 2025

History

This is a uniquely Asian style of making bread attributed to the Japanese (Yudane) and Chinese (Tang Zhong), producing a much softer crumb after baking. The key is mixing the flour with boiling water (water roux), resulting in the pre-gelatinisation of the starch, which gives the finished products a unique softness.

Several methods are used for starch cooking, all achieving a similar result.

  1. Add boiling water (1 part) to a set amount of flour (1 part), mix it to a paste and leave it covered in a chiller overnight. The following recipe uses this method.
  2. Another way is to warm water in a pan, slowly add the flour, and cook it by stirring until the starch gels and you have a smooth slurry. Allow this to cool and then it is used in the final mixing.

High Sugar Yeast

Note that the dough’s sugar levels are 12% of the flour weight, so you must use a high sugar yeast in this recipe.

Equipment

Weighing scales, medium size mixing bowl, saucepan, spatula, dough scraper, measuring jug, dusting flour, dry cloth or plastic sheeting, baking tray, suitable loaf pans and cooling wire.

Note

The Sweet Bun recipe is the base for all of the products in this section.

Dough Application

The basic dough can produce a range of products of different weights and shapes that will enable you to create a wide variety. Sweet Bun filling recipes are at the bottom of this section.

Posted on Leave a reply

How to use the oven?

How to use the oven?

By: RedmanShop | February 19, 2025

The cake batter is in the tin, or the bread has risen. Now is the moment of truth on how to bake the item successfully.

Home baking ovens have developed over the years. They have changed from the early conventional ovens to Microwave / Convection ovens and then on to the more common fan-forced Convention oven and lately the Combi stream-type ovens. However, whatever type you use to bake, it is crucial to understand the settings and how to use them. The following explanations will focus on the fan-forced Convection type, which is the most common.

Oven Control Components

The control features of the oven setting are displayed as diagrams similar to those below.

Convectional ovens provide a more consistent type of heat through the fan function, which distributes the heat more effectively than prior oven types, which relied on conduction, radiation and convection. The baking is done at a lower temperature setting of approximately 10 °C than in a traditional oven. The baking process is a trial-and-error activity as you become familiar with your oven, so don’t think everything will be perfect if you follow the recipe, which says to bake at 200°C for 20 minutes. Two unexpected outcomes could occur: the item is over-baked, as the oven temperature is too high. Or underbaked, where the oven temperature is too low or not baked long enough.

How to set an Oven

Preheating :The oven needs preheating before use, and this will take approx. 20 minutes. What temperature do I set for preheating? 200°C is the most common.

Why do I need to preheat the oven? : Successful baking requires a baking chamber that has an amount of stored energy. The temperature will drop when placing items in the oven; if not preheated sufficiently, the necessary chemical reactions will not occur.

What settings do I use? : If baking bread, use the top and bottom settings as you want intense heat. If baking a cake, use the fan setting to heat the oven.

Recommended Baking Temperature

Butter Cake

The recipe states 190°C : Set the temperature to 200°C while preparing the batter for the oven. Before placing the cake in the oven, change the temperature to 190°C. Open the oven door, place your cake into position, and close the door.

Why set it to 200°C and then reduce it to 190°C? : Successful baking requires a baking chamber that has an amount of stored energy. The temperature will drop when placing items in the oven; if not preheated sufficiently, the necessary chemical reactions will not occur.

Bread Baking

Recipes state 225°C for baking bread : The initial setting would be at 250°C to have the oven hot and ready for baking. Heat the oven for at least 30 minutes before baking to build up the heat.

Recipes say 225°C; why set it at 250°C? : The baking temperature is 225°C. You preheat to 250°C. Before running the oven, reset the thermostat to 225°C. This allows for a drop in heat when you are loading. When you fill the oven, it will automatically drop, but setting it at 225˚C means it will not fall below this.

Posted on Leave a reply

Dairy Cream

Dairy Cream

Dairy cream comes from the fat content of cow’s milk which is pasteurised and homogenised. It comes in the following categories, which relate to the minimum fat content of the product.

Cooking cream for sauces, soups

Whipping cream has applications in general baking and decoration.

Thickened cream
Containing a thickener (vegetable gums, gelatine, alginates) for stability. Used for general baking, mousse and decoration.

Double cream
High-fat content cream that whips well and holds its shape. Ganache cream fillings, mousse cake and decoration

Cream Cheese (made from a combination of milk and cream)
The cream is formed by adding Lactic acid, which thickens the mixture. Baked and non-baked cheesecakes, as a filling for bread and bagels

Crème Fraiche
The cream is produced with a bacterial culture, resulting in a lightly sour taste: soups, accompaniment with scones and baked goods.

Sour Cream
The cream uses a bacterial culture containing Lactic Acid, which sours and thickens the cream: cheesecakes, muffin batters, and fillings.

Milk Fat Content
18% – 20%
35%
35% – 38%
43% – 45%
33% – 34%
28%
12% – 16%

Preparation for Whipping Cream

The cream needs chilling before whipping, as do the mixing bowl and whisk attachment. These actions will ensure the cream whips quickly and remain firm.

Note

Generally, the thickened dairy cream will suit most applications.

Storage

Dairy cream requires refrigeration at 4°C and has a shelf life of up to 180 days when packaged in aseptic cartons (meaning it is free from microorganisms). Once opened, it is best (safest) to use it within three days.

Must Know

Dairy cream is not suitable for freezing in its liquid form as the fats will separate upon thawing, making it unsuitable for use.

Non-Dairy Whipping Cream

Dairy-free whipping cream is an oil-in-water emulsion that can whip to a stable foam. The composition comprises vegetable oil (Palm Oil being most common), milk proteins, sugars, water, emulsifiers and stabilisers. The advantage of this type of cream is its stability when whipped. It also yields a lighter and greater volume when compared to dairy cream. Preparation is the same as for Dairy cream.

Posted on Leave a reply

Milk

Milk

By: RedmanShop | February 19, 2025

Fresh Milk

Liquid milk, full cream and skim are available for use in baking. All milk is Pasteurised (harmful bacteria destroyed by heat) and Homogenised (fat particles are made smaller by forcing the milk through a series of fine sieves) to increase shelf life, allows the milk to be frozen, thawed and used, kept refrigerated at 4°C.

Ultra-High-Temperature Milk UHT

The milk is heated to a temperature of 120°C and held for several seconds to destroy harmful bacteria. This milk does not require refrigeration until it is opened. Unopened, it has up to six months of shelf life. This type of milk has a slight caramel taste due to the longer heating process; the colour will also be darker than regular milk. Once opened, the shelf life is 5 days.

Milk Powders

The two types are Full Cream and Skimmed. Skimmed milk is best for baking as it has more lactose content than will assist in the browning of the crust. The reconstitution rate ranges between 10% to 15% of the liquid medium. Add up to 150g of milk powder to one litre of water. Commercial bread makers will use skimmed milk powder when making milk bread as it is more economical than liquid milk. Bakers milk powder is heated to denature the protein so it will not interfere with the gluten development when making bread.

Storage

Milk Powders are hygroscopic (attract moisture) and are best stored in airtight containers to prevent lumping.

Alternative Milk

Current trends have a range of new products targeted at the healthy alternative market. Oat, Almond, Soybean, Hazelnut, Cashew, Rice, and a range of plant-based milk find application in coffee shops and homes as an alternative to Cow’s milk. The author has limited experience with such products in baking but expects they will perform similarly to Cow’s milk when fat content and other component levels are equivalent.

Cheeses

For its flavour and colour in the grated or block form, Cheddar cheese adds colour in its grated form and finds applications across all bakery products – mozzarella as a topping on pizza. Cottage and Ricotta cheeses are also famous in bakery products as an accompaniment to fillings. Cottage cheese is used in a Spanakopita, a Greek cheese and spinach pie. In contrast, Ricotta cheese is used in the famous Italian baked cheesecake or as a traditional filling for Italian Cannoli.

Posted on Leave a reply

Cream scones vs. butter scones

Cream scones vs. butter scones

By: izzah zainal | February 19, 2025

Imagine wandering into the kitchen on a chilly weekend morning, craving your favorite cream scones. You’re ready to bake and excited for something warm and sweet. You pull out your go-to recipe, gather your flour and sugar, then open the fridge only to gasp audibly. There’s no heavy cream! Breathe. Your scone dreams aren’t crushed; you don’t need to abandon your beloved recipe. There’s a simple substitution that will allow you to make delightful, ultra-tender scones without cream.

Swap butter and milk for heavy cream in any basic scone recipe, so you can always bake these classic treats — no matter what kind of dairy is in your fridge.

Cream vs. butter and milk

If you’re a person who faithfully plans baking ahead and always has the necessary ingredients on hand, this substitution is still worth learning. Why? Because there are some key differences between cream scones and butter scones. The ability to convert from one to the other allows you to make a batch with the perfect texture and appearance.We’ll help you decide which kind of scone is just right for your occasion.

Cream scones 101

Using heavy cream as a base, cream scones can feel like a morning indulgence.

Texture: Ultra-tender and cake-like, they’re softer than butter-based scones.

Best for: Enjoying as is or with a cup of coffee or tea; can also be dressed up as shortcake and served alongside fruit. Cream scones’ delicate texture is also just right for highlighting flavors like cardamom, cinnamon, espresso powder, and more.

Reason to love them: They’re quick and easy to make and don’t require working the fat into the dry ingredients.


Butter scones 101

Classic and timeless, butter-based scones can be hearty and delightful.

Texture: Layered, usually with craggy, crisp edges and sometimes slightly dry (while still pleasant). Overall, butter scones are sturdier than cream scones.

Best for: Splitting and topping with jam, butter, or cream. They can hold up to heavy or large mix-ins like chocolate chunks, roughly chopped nuts, or large dried fruit.

Reason to love them: They only require ingredients you’re likely to have on hand so you can make them at a moment’s notice.

Bottom line

Cream scones or butter scones? With our easy substitution, you’ll be able to convert back and forth based on what you’re looking for (or what’s in your fridge at the moment).

The substitution ratio

Are you ready for the ultimate conversion? Replace 1 cup (227g) of heavy cream or whipping cream with 1/2 cup (113g) of butter and 1/2 cup (113g) of milk. If your recipe doesn’t call for a full cup of heavy cream, scale down the amount of butter and milk that’s used accordingly. This ratio also works if you’d like to go in the other direction: You can replace the butter and milk in your recipe with heavy cream, basically using the same approach. There are just a few key points about converting in each direction that you’ll want to note before diving in.

From cream to butter and milk

If you’re starting with a cream scone recipe and want to use butter and milk instead, start by mixing together the dry ingredients. Then cut cold butter into 1/2″ chunks and add it to the dry ingredients. Using your hands or a pastry blender, work the butter into the dry ingredients until the largest pieces of butter are slightly smaller than dime-sized. Add the milk to any of the other liquid ingredients called for in the recipe (like eggs or vanilla).

Finish the dough by gently folding the wet and dry ingredients together. (A dough scraper is a perfect tool for the job here.) If the dough looks powdery and dry, add additional milk by the tablespoon until it holds together. Working in the cold butter in this fashion will give you a layered, slightly flaky scone.

Or melt the butter

What if you want to recreate something close to those super-tender cream scones you had your heart set on? Simply heat the butter and the milk together until the butter melts, and add them both when your recipe calls for the cream.

Testing our Cream Tea Scones

We put the substitution ratio to the test by comparing our classic Cream Tea Scones (left) with a batch converted to butter and milk (right).


Side by side, you can see that the cream scones are more cakey and delicate. The butter scones look almost layered and rise just a bit higher, despite the unbaked scones being the same height when they went into the oven.

The flavor of the cream scones is just a bit richer than the butter scones. They don’t need any additional butter or garnishes before serving. The butter-based version, on the other hand, welcomes a pat of warm salted butter.

Posted on Leave a reply

Understanding the difference between baking soda and baking powder

Understanding the difference between baking soda and baking powder

By: izzah zainal | February 17, 2025

It’s hard to truly understand the importance of baking soda and baking powder — and the difference between the two — until the day you accidentally stumble and add one instead of the other, or forget to add one entirely. If you need visuals, just imagine sunken banana bread, squat scones, and deflated cupcakes. An eerie sight, am I right?

Sometimes it can be downright confusing how a mix-up in leavening agents makes or breaks a cake batter or cookie dough. And such ignorance is never bliss, especially when it results in frightening baked goods. So to avoid any baking mishaps, here’s a breakdown of the difference between baking soda and baking powder, what they contribute to baking, and suggestions for substitutions if you find yourself without one.

What is baking soda?

Let’s quickly return to high school chemistry class. Baking soda (or sodium bicarbonate) is a base compound with a pH level of 8. When it mixes with an acidic solution, it reacts to produce carbon dioxide — a.k.a. the gas required to get that desirable lift in baked treats.

As a result, baking soda needs an acidic partner to work its magic; this can be a wet ingredient like sour cream, buttermilk, yogurt, lemon juice, vinegar, maple syrup, or honey, but it could also be a dry ingredient like brown sugar or natural cocoa powder. (Dutch-process won’t contain enough acidity.) Once paired and mixed, baking soda instantly starts to react with that acid. Therefore, with recipes that lean on baking soda, it’s better to get batters and doughs in the oven straightaway so the reaction doesn’t die down before you even start baking.

Baking soda creates a less chewy and more tender, airy texture in baked goods. It’s no wonder it’s called for in quick bread recipes to provide shape and soft crumb without having to rise for a long time like traditional yeasted bread. As a leavener, baking soda is more responsible for the outward spread of baked goods. (Remember: soda = spread).

What is baking powder?

While baking soda needs a co-conspirator, baking powder is a complete mixture of baking soda and cream of tartar, a powdered form of tartaric acid, so it has both the basic and acidic components necessary to produce carbon dioxide. In grocery stores, you’ll often come across “double-acting” baking powder, meaning it reacts twice. The first reaction occurs when you’re mixing batter and the powder dissolves. (Think about how when you let pancake batter rest for around 15 minutes, it thickens and bubbles slightly — this works on the same principle.) The second reaction takes place when the batter hits the heat and begins to bake.

Inside any high-rise scone or jumbo muffin is typically a good amount of baking powder. That’s because baking powder adds height, fluff, and lightness. (Remember: powder = puff). Just feast your eyes on the glow-up that 1 tablespoon gives Baking Powder Biscuits. I’m not saying if you skimp on the baking powder, you’ll be left with dense, inedible doorstops, but I’m not not saying that either — there’s a reason the ingredient is in the recipe name.

Why do some recipes call for both baking soda and baking powder?

If a recipe requires both leavening agents, there’s a good chance there’s acid included in the recipe, yet not enough to trigger a full reaction when combined with just baking soda on its own. In such cases, baking powder comes in as reinforcement to do most of the leavening, while baking soda is there to neutralize the acid (lessening the astringent taste) and contribute some lifting power. Now that’s teamwork!

Can you use baking soda instead of baking powder? Or vice versa?

You can’t substitute equal amounts of baking soda for baking powder in a recipe, or vice versa. But! There is some wiggle room for substituting.

To put it briefly: Don’t substitute these ingredients for each other (or other swaps) if you can help it, but should you be in a pinch (maybe in the middle of mixing your brownie batter when you realize you’re missing baking powder) there are a few options to swap in. Some may be sitting in your kitchen as we speak! It’s important to keep in mind that these ingredients are happy to step in and do a good job, but they won’t perform absolutely the same as the original leavener called for in the recipe.

Learn how to create deliciously roasted sesame seeds for your meals by following the step-by-step instructions below.

Substitutions for baking soda

Baking powder: Baking powder can be used to replace baking soda, though not at a 1-to-1 ratio. Because the former is not as strong as the latter, it’s important to use three times the amount of baking powder as baking soda. Be aware, a slightly bitter, off-putting taste might result from using that much baking powder.

Sub for 1 teaspoon baking soda: 3 teaspoons baking powder

Substitutions for baking powder

Baking soda + cream of tartar + cornstarch: You can’t just sub baking soda directly for baking powder, but you can use it alongside other ingredients as a swap. Remember, baking powder is a mixture of baking soda and cream of tartar — which means you can easily make it yourself.

Sub for 1 teaspoon baking powder: Combine 1/4 teaspoon baking soda + 1/2 teaspoon cream of tartar + 1/4 teaspoon cornstarch or tapioca starch.

Baker’s ammonia: Baker’s ammonia is a trusty leavener from the 19th century that produces a light, tender crumb similar to what you’d get from baking powder. You can use it 1:1 in place of baking powder. Be aware: It doesn’t smell great, but no need to worry, as the smell totally dissipates by the time baked goods are done.

Sub for 1 teaspoon baking powder: 1 teaspoon baker’s ammonia

Lemon juice or vinegar: These acids react with baking soda to mimic the power of baking powder.

Sub for 1 teaspoon baking powder: 1/4 teaspoon baking soda + 1/2 teaspoon lemon juice or white vinegar

Posted on Leave a reply

What exactly is a scone?

What exactly is a scone?

By: RedmanShop | February 17, 2025

Depending on which side of the pond you’re on, a scone can take a few different forms. Sometimes, it’s a simple affair — a buttery, blank slate waiting for a dollop of jam or drizzle of honey. Other times, a scone is a decadent treat all on its own, loaded with sweet or savory mix-ins. Either way, it’s a perfect accompaniment for tea or coffee. But what’s the difference between all these scones, and their close cousin, biscuits?

British scones vs. American scones

Traditional British scones work butter and/or cream into flour until a crumbly dough forms, which makes the resulting baked good finely crumbed and tender, but still a bit flaky. Leavener (typically baking powder) and sometimes eggs are added to help the scones rise and keep them light. British scones are generally quite plain (though they sometimes have a handful of currants or raisins added) and just barely sweet, making them the perfect vehicle for slathering with salted butter, jam, or clotted cream (or all three!). They’re often cut into rounds before baking, but they can sometimes be shaped as triangles.

American-style scones, on the other hand, are usually a no-holds-barred affair. Often found in coffee shops, these pastries are typically triangular, on the sweet side, loaded with mix-ins like dried or fresh fruit, nuts, or chocolate, and sometimes finished with a decadent glaze. They can go savory, too, featuring shredded cheese, herbs, or even pops of salty bacon. The dough often contains more liquid and is mixed more thoroughly than British-style scones in order to incorporate all of those fillings, so they tend to be on the crumblier side after baking.

What is the difference between a scone and a biscuit?

American-style biscuits are cousins to scones, deriving from recipes brought over by settlers from Europe; over time, they were adapted to incorporate available ingredients and evolved into new styles of their own.

Biscuits contain most of the same ingredients as scones, with the exception of eggs and, sometimes, buttermilk instead of milk or cream. However, they typically have a higher proportion of fat and less liquid than scones, causing them to bake up taller and flakier, rather than crumbly and tender. Scones can be made without butter (just using cream), but biscuits always use a form of solid fat. That fat — often butter but sometimes lard or vegetable shortening — is usually left in larger pieces that are folded and laminated into the dough, creating ultra-flaky, striated layers as the pockets of fat puff up in the oven. Biscuits generally skew more savory than sweet, perfect for serving alongside a plate of bacon and eggs or sopping up gravy.

Posted on Leave a reply

Egg

Egg

By: RedmanShop | February 17, 2025

Eggs

Eggs are a staple ingredient in baked items and bring a list of incredible attributes: Egg provides aeration, is a natural emulsifier, adds softness and tenderness to cake batters, brings nutritional value and assists in the shelf-life of products.

Fresh and liquid eggs are used to make fresh bakery products. The hen shell egg comes in various sizes/weights and should be cracked and weighed. Relying on the size gradings of eggs, e.g. 50g, 65g, instead of the liquid weight, can result in unbalanced recipes.

As a convenience, powdered eggs are a component in bakery pre-mix, with the application formula appropriating the liquid amount required for the egg powder. Eggs contain a natural emulsifying agent called Lecithin that stabilises cake batters.

Chicken Egg

Types of Eggs

 
Fresh

Shell Eggs / Egg Yolks / Egg White : The shell can be white or brown, with the colour related to the chicken’s genes. They come in varying sizes and should be weighed for accuracy when using them in a baking formula.

Fresh and Frozen

Liquid Whole Eggs / Liquid Yolk / Liquid Egg Whites : Shell eggs can be processed by pulping the whole egg to a liquid or separating the yolk and white.

Powdered Egg

Whole Egg / Egg Yolk / Egg White (Albumin) : The liquid shell eggs undergo a drying process that removes the egg’s moisture.

Pasteurisation of Eggs

For Food Safety reasons, egg products are pasteurised to destroy harmful bacteria and prolong shelf life. It is common practice for many brands of fresh shell eggs sold in the supermarket to have undergone pasteurisation.

Storage

Fresh shell eggs and fresh liquid eggs require refrigeration for safety reasons. Frozen egg product storage is at -10°C. Powdered egg products have an extended shelf-life of up to 5 years if stored in an airtight container at a low ambient temperature.

Must Know

The firmness of the yolk and white upon opening indicates freshness. Both should be firm, with the yolk having a bold appearance. Stale eggs will show a thin yolk that breaks easily and a thinner white. To obtain the best results when whipping, the fresher, the better.

Posted on Leave a reply

Yeast – Baker’s & Natural

Yeast – Baker’s & Natural

By: RedmanShop | February 17, 2025

Baker’s and Natural Yeast

Baker’s and Natural are two types of yeast more commonly used in baking, each providing the basis for dough fermentation. Yeast requires special conditions for it to perform consistently throughout the fermentation process. Yeast growth is shown by its increasing capacity to multiply and bud. The conditions necessary for its growth are water, food, oxygen, time, temperature, and appropriate acidity/alkalinity level (pH).

Baker’s Yeast

Baker’s Yeast is a commercial product available in several forms, such as low-sugar or high sugar-tolerant varieties. The choice of which yeast will depend on the dough’s sugar levels. Low sugar yeast works well up to 10% sugar content, whereas high sugar yeast works best in doughs with above 10% sugar content. To check the Percentage of sugar in the recipe, use the Bakers Percentage calculation method, as explained in Part Two.

Types of Yeast

Compressed : Block form is the most common. It is also available in flakes for larger plant bakeries.

Dried Yeasts: Instant Dried / Instant Active DriedStrains of yeast that have had the water removed. The yeast is re-activated by mixing with warm water. It is added directly into the dough when it is mixed.

Note: To convert fresh yeast usage to dried yeast, multiply the quantity by 0.4.

High and Low Sugar Yeasts

The type of yeast used in the dough relates to the amount of sugar in the formula. For lean dough formulas, sugar will range from 0% – 10% on the flour weight. In rich sweet dough formulas, sugar can be 12% to 20% of the flour weight. The high sugar yeast strain is required in these doughs as regular yeast will not be able to create enough fermentation activity. The dough would move slowly as low-sugar yeast cannot cope with high-sugar levels.

Storage

For dried yeasts, refrigeration in airtight containers is most suitable. Fresh compressed yeast also needs refrigeration and is wrapped in appropriate paper to prevent it from drying out. Buy small packs until confident so as not to waste ingredients. Do not purchase large pack sizes (500g) at first, as they deteriorate with age.

Must Know

Yeast is a living organism and requires attention to detail to obtain a consistent result. Buying yeast in individual small sachets is recommended rather than a large amount. Once opened, its gassing properties deteriorate.

Natural Yeast – Levain (Sourdough)

A mix of flour and water (equal parts) stands in a clean container to attract the wild yeast cells and organic bacteria in the air. Once evidence of activity (bubbles or air pockets visible), a regular feeding process using equal parts of flour and water begins. The action is repeated for the next seven days. The result is that Levain replaces baker’s yeast for dough fermentation. For further details refer to page 71, Part Three on practical baking.

Storage

It is best kept refrigerated during the building stage and upon completion of the starter. Any leftovers from daily production must be returned to the mother and kept under refrigeration.

Must Know

Building the Levain is a slow and steady process requiring care so that the foundation is solid and healthy. Once you have the Levain, you must feed it so it is ready for use before making the dough. The flour used in the starter and feeding must be unbleached, with the most suitable being a medium protein.

Fermentation

Yeasts are used as an aerator, affecting product structure, flavour, volume, and quality. The yeast’s performance depends on the amount of water, its temperature, and the finished mixing temperature. It will be challenging to control this process as it could move too quickly or slowly at times, so it is crucial to have a clear understanding for success to follow.

Subscribe to our Newsletter Now

Get the latest recipes, products and classes available on RedManShop.