


The comprehensive guide to baking with yeast
By: RedmanShop | January 12, 2025
What is yeast, and how is it made?
Yeast is a single-cell organism, part of the fungi kingdom. The yeast we use most often today, Saccharomyces cerevisiae, is one of the oldest domesticated organisms known to mankind: It’s been helping humans bake bread and brew alcohol for thousands of years. Fittingly, the Latin translation of Saccharomyces cerevisiae is “sweet fungi of beer.”
Saccharomyces cerevisiae is just one strain of the more than 1,500 identified species of yeast. But wait, there’s more — literally. Those 1,500 identified yeasts are just an estimated 1% of the yeast population in the world; most species remain as yet unnamed.
In order to have a reliable supply of yeast on hand for all of our baking needs, it’s necessary for manufacturers to “domesticate” wild yeast — stabilizing it, and in the process making it 200 times stronger than its wild counterpart.
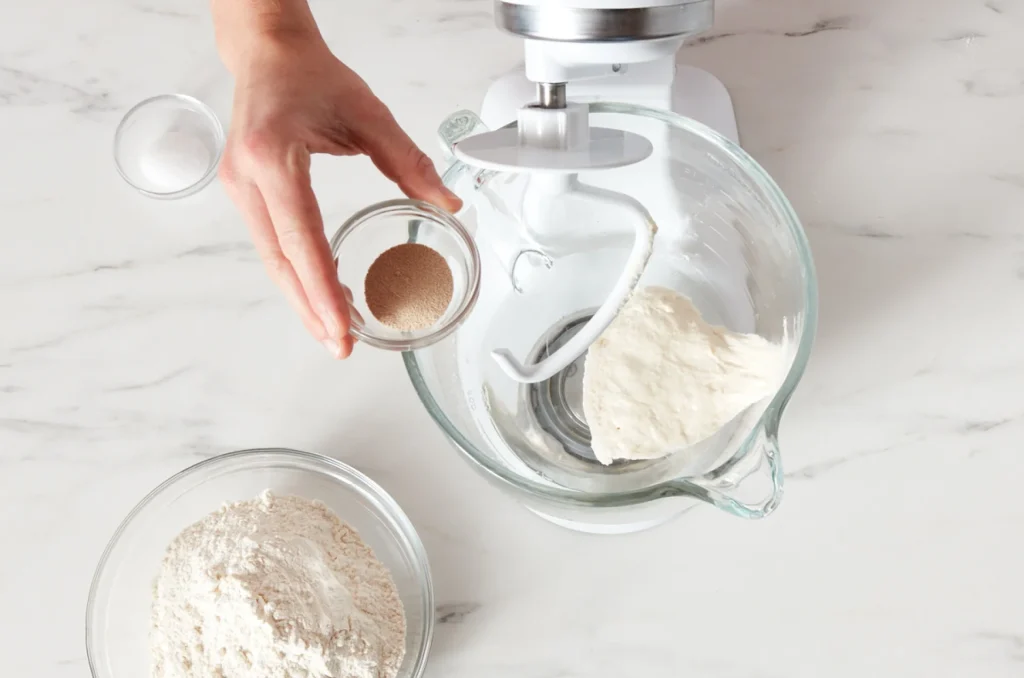
Plant scientists working with a yeast manufacturer identify certain characteristics of wild yeast that they decide are desirable, isolate them, and then replicate them. The resulting yeast is given a “training” diet (such as molasses or corn syrup) to make it reproduce and grow. Once the cells have replicated to a critical mass — a process that generally takes about a week — they’re filtered, dried, packaged, and sent off to the market.
What does yeast do?
Yeast makes bread rise. Just as baking soda and baking powder make your muffins and cakes rise, yeast makes breads of all kinds rise — sandwich loaves, rolls, pizza crust, artisan hearth breads, and more.
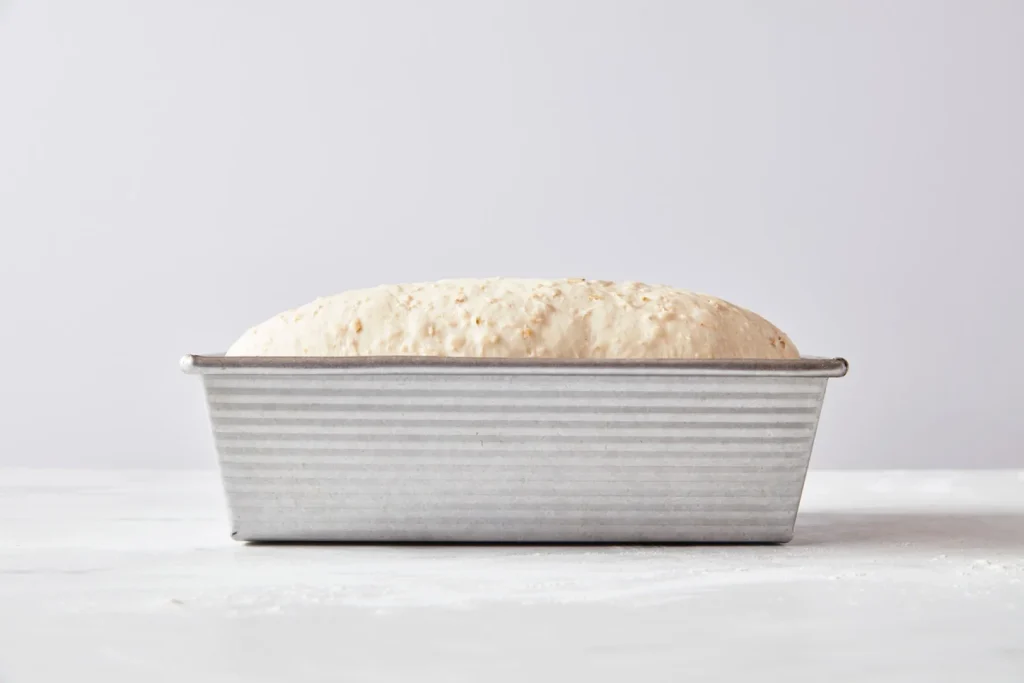
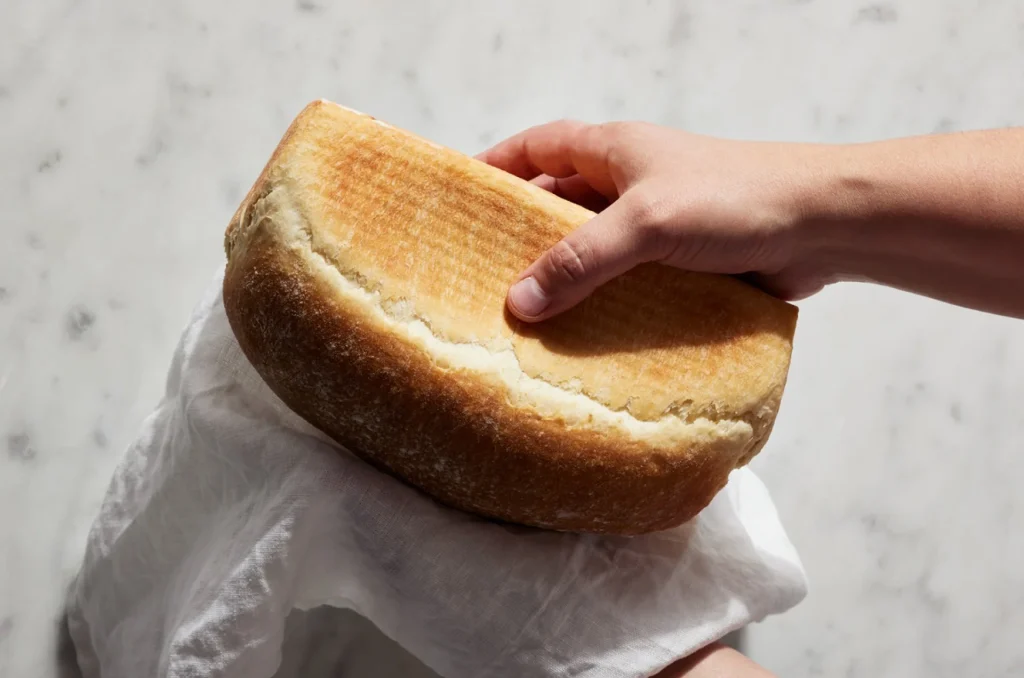
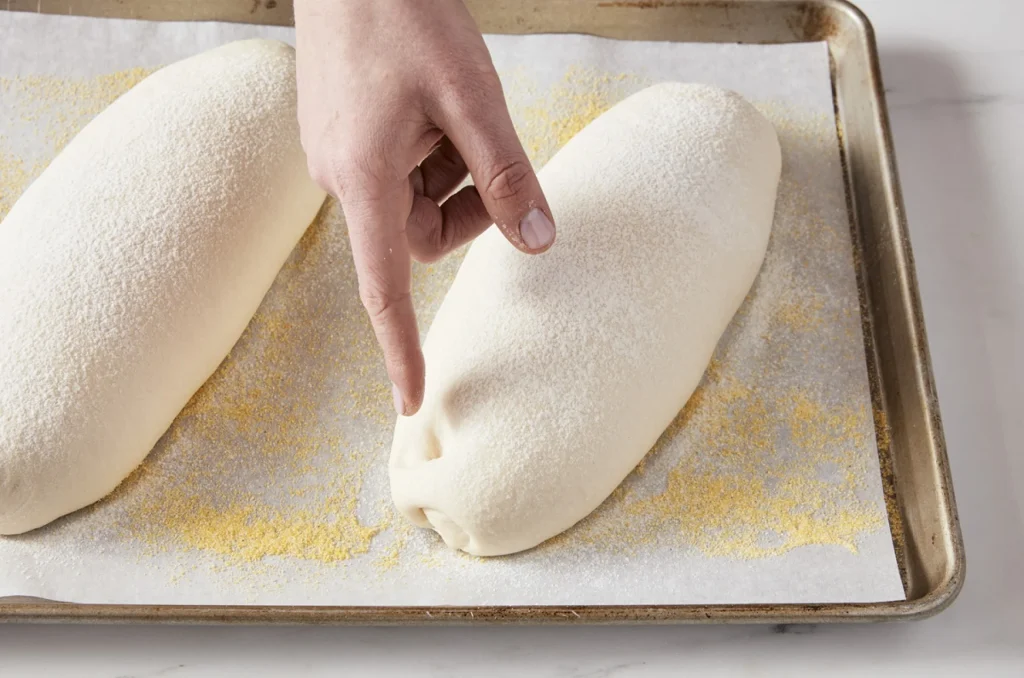
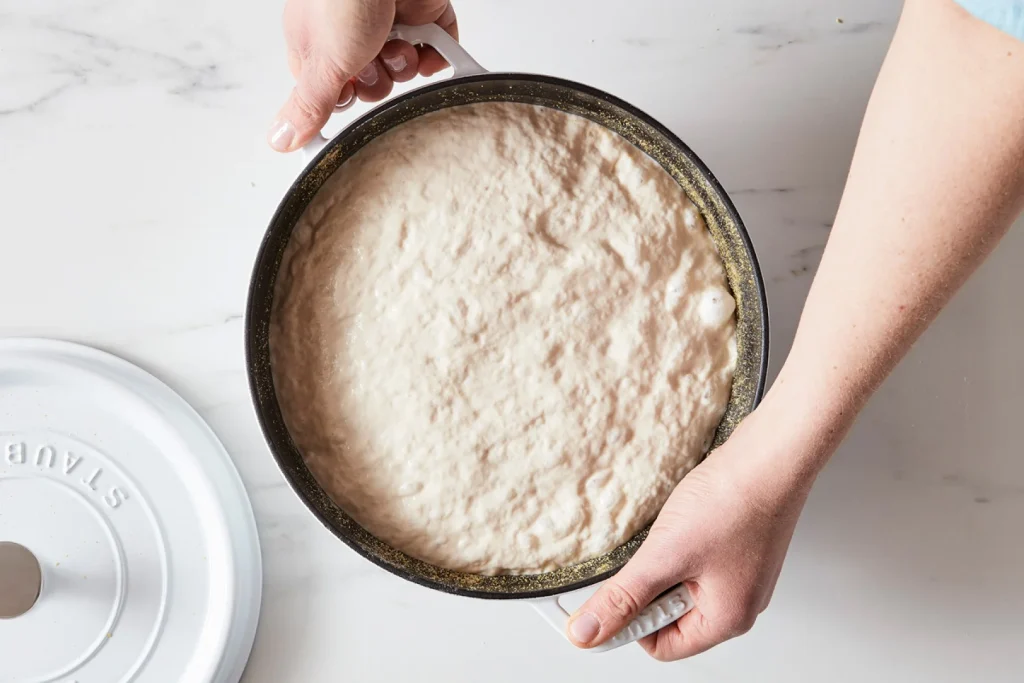
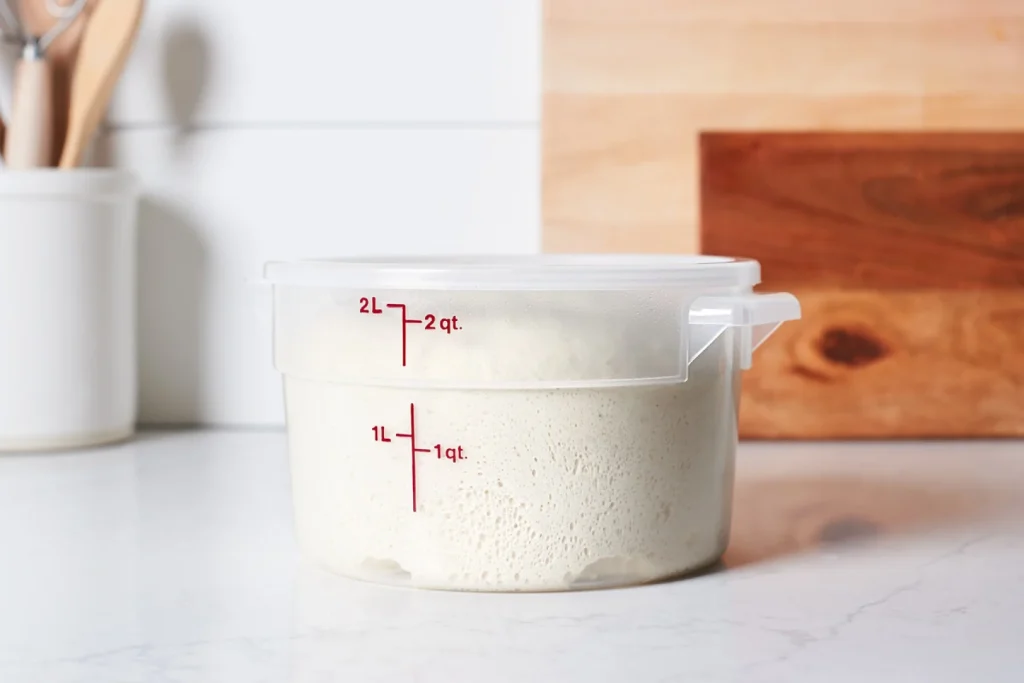
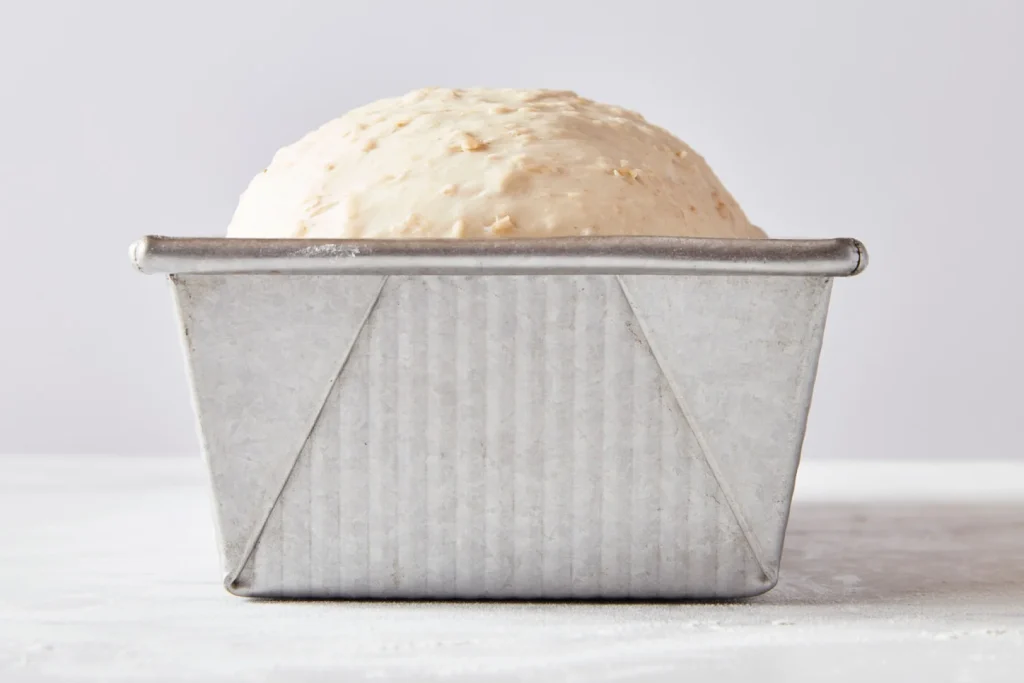
If you’re baking with yeast, here’s how to tell if your bread dough has risen enough.
How does yeast work?
Since yeast doesn’t reproduce without a good supply of oxygen, it stops reproducing once it’s in dough. Instead, it starts to eat: Sugar (sucrose and fructose) is its favorite food. If there is sugar in the dough, that’s what the yeast eats first; once that’s gone, enzymes convert the starch in flour into sugars for the yeast to consume; thus flour is capable of providing yeast with a continuous food source.
The byproducts of feeding yeast are carbon dioxide, alcohol, and organic acids. Carbon dioxide released by yeast is trapped in bread dough’s elastic web of gluten; think of blowing up a balloon. Alcohol and organic acids disperse throughout the dough, enhancing baked bread’s flavor. As long as moisture and food are available, yeast will continue to eat and produce carbon dioxide, alcohol, and organic acids. If your bread stops rising, it’s usually not because the yeast isn’t working (or has died); it’s because the yeast has run out of food or the gluten has somehow become “leaky” and begun to deteriorate, failing to retain carbon dioxide.
What factors affect how well yeast works?
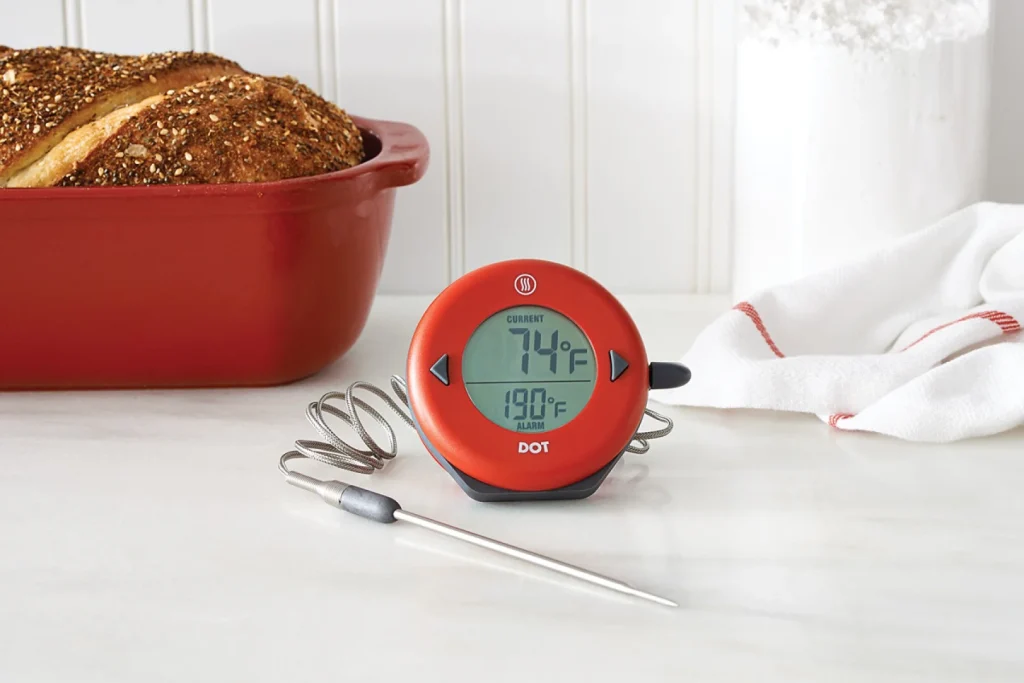
If you’ve ever baked bread, you’ve probably noticed that sometimes yeast seems to work more quickly than other times. Yeast, like any living organism, is happiest when it’s in a comfortable environment. For yeast, this means plenty of food and moisture; the right pH (acid balance); and the right amount of warmth. Yeast prefers temperatures between 70°F and 100°F; for convenience’s sake, and to produce the most flavorful loaf, it’s best to keep rising conditions on the cooler end of that range, rather than warmer, which can cause the dough to rise too quickly, before it’s had a chance to develop its full flavor.
Salt and sugar can both slow down yeast activity. Each of them is osmotic, meaning they can pull moisture out of yeast cells, thus adversely affecting how the yeast functions. We add salt to yeast dough both for flavor, and to moderate yeast’s work; we don’t want our loaves rising too fast. (See more here: Why is salt important in yeast bread?) Sugar is optional; a little bit makes yeast happy, but too much — generally, more than 1/4 cup per 3 cups of flour — slows yeast down. Cinnamon is also a yeast inhibitor — you can’t use more than 1 teaspoon per 3 cups of flour in a dough without it slowing down the rise significantly.
My yeast didn’t work! Now what?
There are all kinds of reasons why bread fails to rise; weak or dead yeast is one of them. Though you may have just purchased your yeast, it may not have been stored or rotated correctly prior to your purchasing it so that it isn’t, in fact, as new as you think it is. A vacuum-sealed bag of yeast stored at room temperature will remain fresh indefinitely. Once the seal is broken, it should go into the freezer for optimum shelf life. (See “What’s the best way to store yeast?” below.)
A vacuum-sealed bag of yeast stored at high temperatures, however — e.g., in a hot kitchen over the summer, or in a hot warehouse before delivery — will lose its effectiveness fairly quickly. After a while, if stored improperly, yeast cells will die. And if you use dead (or dying) yeast in your bread, it won’t rise.
To make sure your yeast is active before you start mixing, see our blog post: How to test yeast for freshness. Another reason yeast might not work: You may have killed it by using overly hot water in your recipe; water hotter than 139°F will kill yeast. But don’t stress too much about temperature; 139°F is way hotter than is comfortable to the touch. If you stepped into a bathtub of 139°F water, you’d leap out fast. So long as the water you combine with your yeast feels comfortable to you, it’ll be comfortable for the yeast, too.

How much is a “packet” of yeast?
You may find older recipes calling for “1 packet active dry yeast.” A packet used to include 1 tablespoon of yeast; currently, it’s closer to 2 1/4 teaspoons, since improved manufacturing methods now produce stronger, more active yeast.
Can I vary the amount of yeast in a recipe to quicken or slow down how my dough rises?
The amount of yeast you use in your bread dough has a significant bearing on how quickly it’ll rise. By reducing the yeast, you ensure a long, slow rise, one more likely to produce a strong dough able to withstand the rigors of baking. The more yeast in a recipe initially, the quicker it produces carbon dioxide, alcohol, and organic acids. Alcohol, being acidic, weakens the gluten in the dough, and eventually, the dough becomes “porous” and won’t rise, or won’t rise very well.
By starting with a smaller amount of yeast, you slow down the amount of carbon dioxide, alcohol, and organic acids being released into the dough, thus ensuring the gluten remains strong and the bread rises well — from its initial rise in the bowl to its final rise in the oven. Remember that this slow rise extends to the shaped loaf, as well as the dough in the bowl. Once you’ve shaped your loaf, covered it, and set it aside to rise again, it may take 2 hours or more, rather than the usual 1 to 1 1/2, to rise fully and be ready for the oven.
Here are some guidelines to get you started. If you’re an occasional bread baker, cut back the usual 2 to 2 1/4 teaspoons of instant yeast to 1/2 to 1 teaspoon, depending on how long you want to let the dough ferment before the final shape-rise-bake process. 1/2 teaspoon would give you lots of flexibility, such as letting the dough “rest” for 16 to 20 hours; 1 teaspoon would be a good amount for an all-day or overnight rise (10 hours or so, at cool room temperature). If you’re using active dry yeast, which isn’t as vigorous as instant yeast, we’d up the range to 3/4 to 1 1/2 teaspoons.
I’ve heard that when you’re doubling a recipe, you shouldn’t double the yeast, too. Is that true?
You can increase the size of most bread recipes by simply doubling, tripling, etc. all of the ingredients, including the yeast. Depending on the recipe and rising time, you may use as little as 1 teaspoon, or up to 2 1/4 teaspoons (sometimes more) of instant yeast per pound (about 4 cups) of flour.
That being said, many home recipes, particularly older ones, use more yeast than this; so when you double or triple the yeast, you may find that your dough is rising too fast — faster than you can comfortably deal with it. In addition, if you’ve increased your recipe by five times or more, and also increased the yeast by five times, keep in mind the time it will take you to shape the dough. You may find the rising dough outpaces your ability to get it shaped and baked. If that’s the case, make a note to reduce the amount of yeast next time.
What’s the difference between active dry yeast and instant yeast?
In days gone by there was a significant difference between active dry yeast and instant yeast. Today, the difference is minimal, and the two can be used interchangeably — with slightly different results. Let’s look at active dry yeast first.
Active dry yeast
Originally, the classic active dry yeast manufacturing process dried live yeast cells quickly, at a high temperature. The result? Only about 30% of the cells survived. Dead cells “cocooned” around the live ones, making it necessary to “proof” the yeast — dissolve it in warm water — before using.
These days, active dry yeast is manufactured using a much gentler process, resulting in many more live cells. Thus, it’s no longer necessary to dissolve active dry yeast in warm water before using — feel free to mix it with the dry ingredients, just as you do instant yeast.
Active dry yeast, compared to instant yeast, is considered more “moderate.” It gets going more slowly, but eventually catches up to instant — think of the tortoise and the hare. Many bread-bakers appreciate the longer rise times active dry yeast encourages; it’s during fermentation of its dough that bread develops flavor.
Fleischmann’s and Red Star are the two brands of active dry yeasts you’re most likely to see in your supermarket.
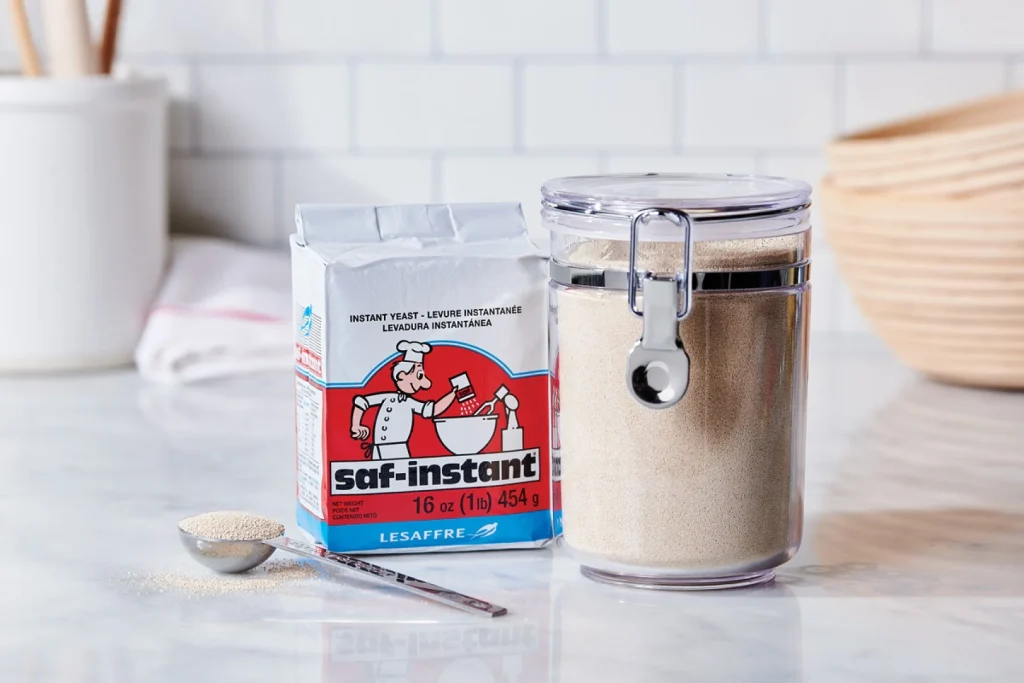
Instant yeast
This yeast is manufactured to a smaller granule size than active dry. Thus, with more surface area exposed to the liquid in a recipe, it dissolves more quickly, and gets going faster than active dry. While you can proof it if you like, it’s not necessary; like active dry yeast, simply mixing it into your bread dough along with the rest of the dry ingredients works just fine.
One caveat: In dough that’s high in sugar (generally, more than 1/4 cup sugar per 3 cups of flour), the sugar evens things out, and instant yeast and active dry yeast will perform the same. (For very sweet breads, you might want to consider using SAF Gold Instant Yeast; for more on that, read below.)
Can I use active dry and instant yeasts interchangeably?
Yes, they can be substituted for one another 1:1. We’ve found that active dry yeast is a little bit slower off the mark than instant, as far as dough rising goes; but in a long (2- to 3-hour) rise, the active dry yeast catches up. If a recipe using instant yeast calls for the dough to “double in size, about 1 hour,” you may want to mentally add 15 to 20 minutes to this time if you’re using active dry yeast.
When dough is rising, you need to judge it by how much it’s risen, not how long it takes; cold weather, low barometric pressure, and a host of other factors affect dough rising times, so use them as a guide, not an unbreakable rule.
One time when you might not want to use instant and active dry yeasts interchangeably is when you’re baking bread in a bread machine. Since bread machines use a higher temperature to raise dough, substituting instant for active dry yeast 1:1 may cause bread to over-rise, then collapse. When baking in the bread machine and substituting instant yeast for active dry, reduce the amount of instant yeast by 25%.
RapidRise, instant, bread machine yeast … is there truly any difference?
Bread machine yeast and instant yeast are the same yeast. RapidRise, Fleischmann’s branded instant yeast, is also an instant yeast, but a different strain than SAF or Red Star.
We find RapidRise is faster out of the gate than SAF or Red Star, but it gives out sooner. And since we like to give our loaves leisurely rises (a long rise brings out bread’s flavor), we like SAF or Red Star.
What’s gold yeast?
SAF Gold Instant Yeast, another SAF variety, is an “osmotolerant” yeast, perfect for sweet breads and any dough with a high amount of sugar. SAF Gold works best when the amount of sugar is between 10% and 30% of the amount of the flour, by weight (this is called a “baker’s percentage”). So, for a 3-cup-flour loaf (360g flour), you’d choose SAF Gold if the sugar is greater than 3 tablespoons, or up to about a heaping 1/2 cup. Understand that the greater the amount of sugar, the more slowly your dough will rise.
How does SAF Gold work? Sugar likes to absorb water; and when there is sugar in bread dough, it pulls water away from yeast, leaving the yeast thirsty. The yeast cells in SAF Gold are bred to require less liquid to function, so they’re better able to withstand sugar’s greedy ways with water.
SAF Gold is best used in sweet breads; for “lean” doughs (low in sugar and fat), SAF generally recommends red-label yeast.
What’s fresh yeast?
Originally, fresh yeast was the only yeast option, until dried yeast arrived on the market in the 1940s. It comes in a moist, firm block with the consistency of clay. Fresh yeast lends a slightly sweeter, richer flavor to baked goods compared to dry yeast. One downside, though, is its short shelf life: Unlike dry yeast, it’s highly perishable and must be stored in the refrigerator. Even then, it usually only lasts about a week or two — opened or unopened.
Despite these differences, both fresh and dry yeast perform the same function in baking, and fresh yeast will make your bread rise just like dry yeast. For more info on fresh yeast and how to convert between fresh and dry yeast, see our previous post: How do I bake with fresh yeast?
What’s the best way to store yeast?
We recommend transferring dry yeast (not fresh) to an airtight container (glass or acrylic) and storing it in the freezer for up to a year. If you buy yeast in bulk (e.g., a 1-pound vacuum-packed brick), open it up; divide it into three or four smaller portions, and store each in a tightly closed container. A zip-top freezer bag works well.
When you’re ready to use yeast, remove the bag or jar from the freezer, spoon out what you need, and quickly return it to the freezer. Yeast manufacturers say you should let frozen yeast rest at room temperature for 30 to 45 minutes before using; frankly, we’re usually too impatient to do that, and have never experienced any problem using yeast straight from the freezer.