


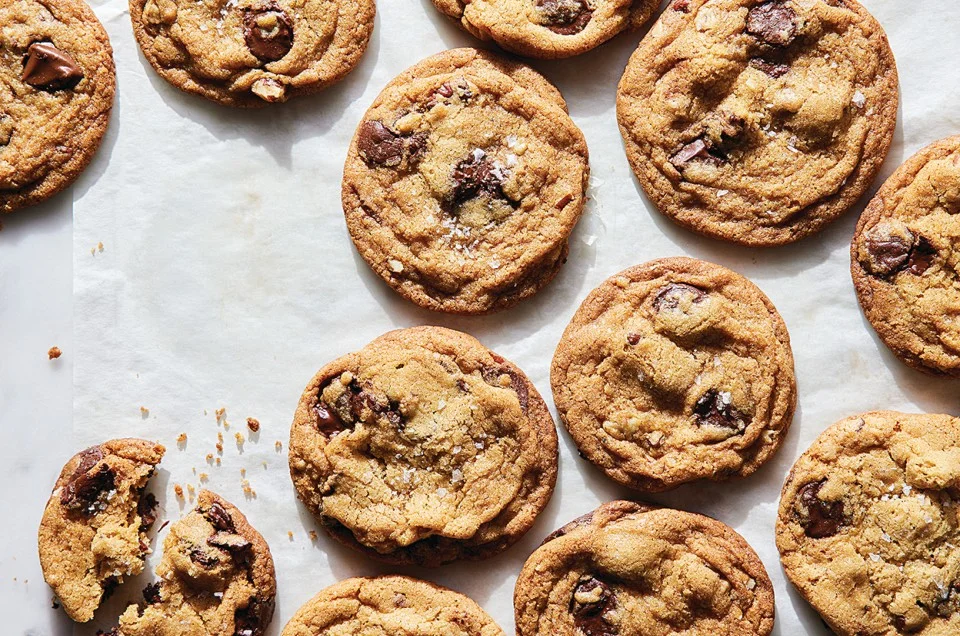
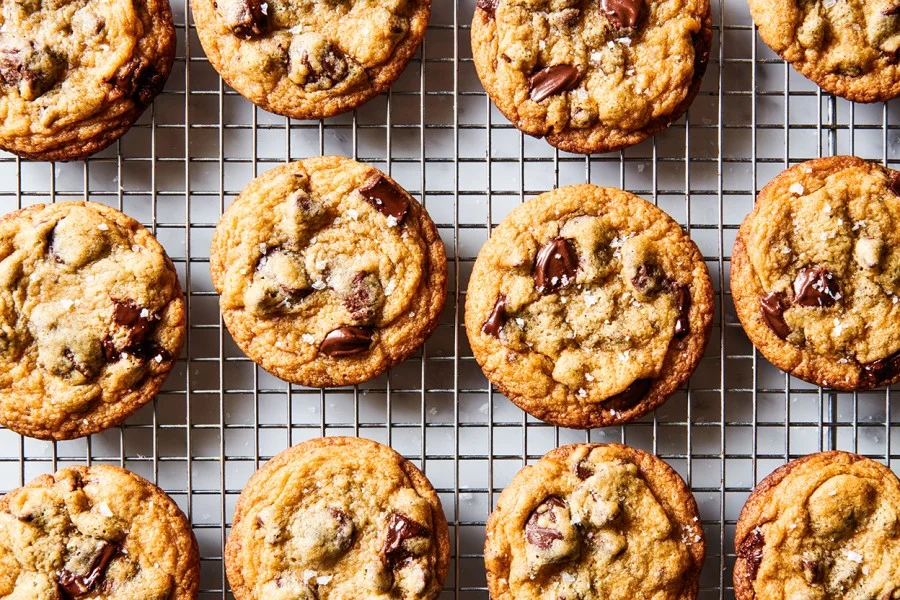
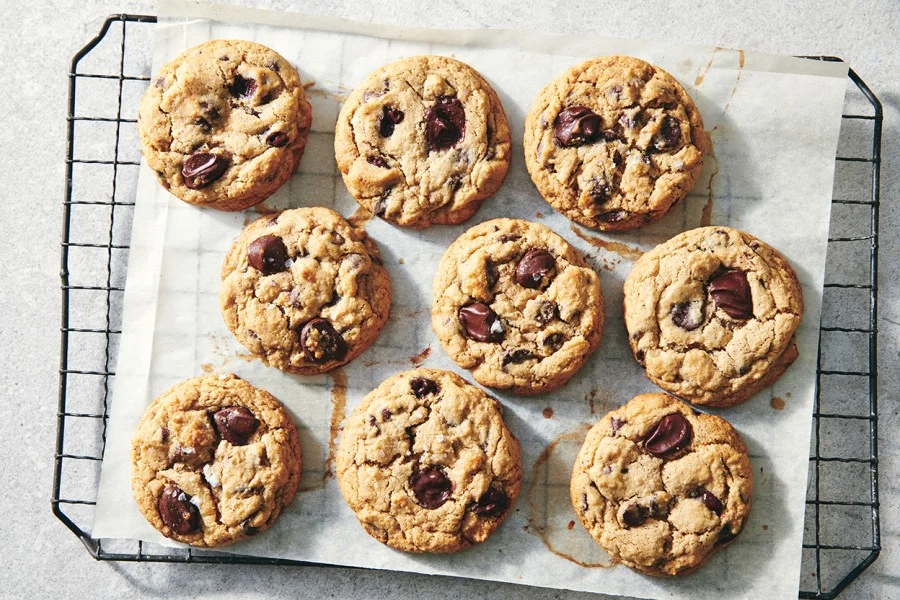
How to achieve your perfect chocolate chip cookie
By: izzah zainal | February 16, 2025
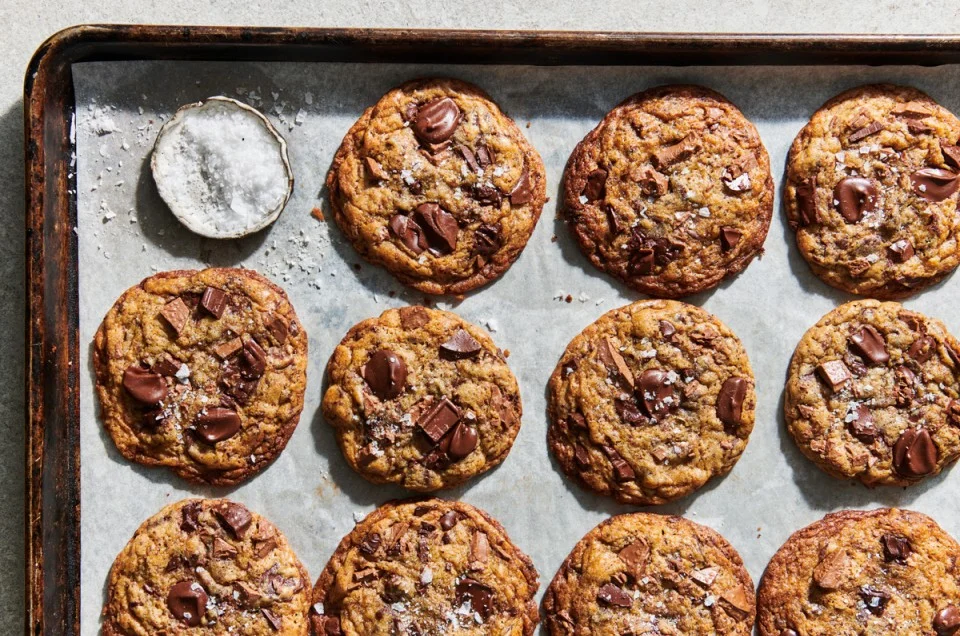
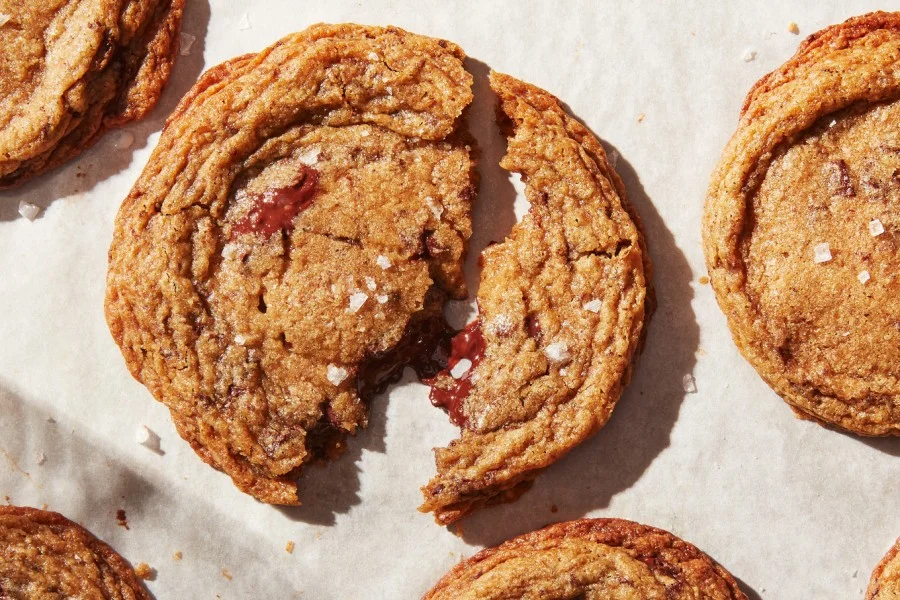
A few tweaks — more sugar, a dash of milk — can make cookies crispy, chewy, or cakey.
Good bakers know how to follow recipes. Great bakers know how to tweak them — how to deviate subtly from the printed word and create something that’s not just tasty but tailor-made to your palate. The line between good and great is surprisingly easy to navigate when it comes to chocolate chip cookies. All you need is a little cookie science and a friendly guide to show you the way.
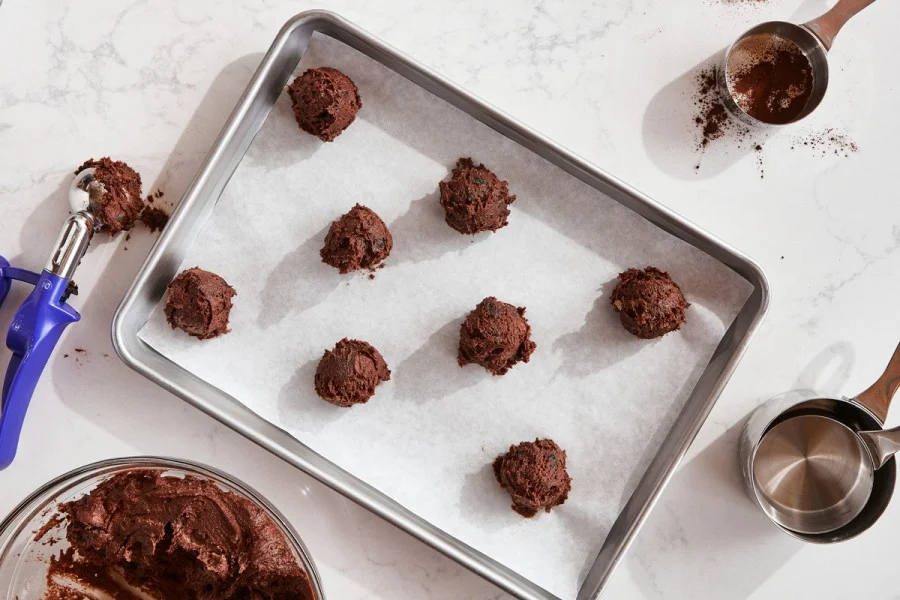
Just a few simple changes can turn a regular chocolate chip cookie into one that’s extra-crunchy, extra-chewy, or extra-cakey. We recommend using our Easy Chocolate Chip Cookies recipe, but these tips are broadly applicable to chocolate chip cookie recipe that makes a similar quantity of finished cookies.
How to make crunchy chocolate chip cookies
Add 2 tablespoons granulated sugar and bake for 2 to 4 extra minutes.
What does the extra sugar do to the cookie dough?
Although sugar may seem like a simple ingredient, it plays a very important and complex role in cookie dough. It contributes to both texture and flavor in many ways: It melts in the heat of the oven to increase spread, and it creates little air pockets in the dough to expand and make cookies rise. Sugar also caramelizes and participates in Maillard reactions to add both color and additional flavor notes, and it recrystallizes upon cooling to give the cookies crispy texture. (Maillard reactions are when amino acids react with sugars to give you the brown color and caramelized flavor in baked goods.)
When adding an extra few tablespoons of granulated sugar, you increase the ratio of sugar to fat and flour in the cookie. This will result in a bit more spread, a larger surface area and more material to caramelize and react and, of course, a little bit of extra sweetness as well, which never hurts.
You may notice that the cookies won’t be crispy immediately out of the oven; that happens later. While the exact science of cookie cooling is still somewhat of a mystery, one theory is that as the molten sugar retreats to its crystalline structure and solidifies, the cookie becomes crispy as opposed to bendy. Working with that theory, we can then understand why the more sugar present to recrystallize, the more snap your cookie will have.
How does granulated sugar act differently than brown sugar?
Granulated sugar contains little to no “invert sugar,” which is what you find in the molasses or refiners syrup added to brown sugar. This invert sugar is actually single monosaccharide molecules that were created by breaking down the double disaccharide molecules that make up granulated or table sugar (sucrose). These monosaccharides possess different chemical properties that make cookies chewier, as we’ll see in the tip below.
Why the different bake time?
By adding extra sugar, you can bake the cookies to a slightly higher temperature without over-baking, which will allow for a crispier final cookie as well as deeper flavor development.
Why not just bake any version longer to get a crunchy cookie without added sugar?
While it’s certainly true that baking any cookie longer will cause it to have a firmer final texture, having the extra granulated sugar allows the cookie to maintain a tender, “snappy,” crisp texture (due to the properties discussed above), as opposed to a less enjoyable hard/crunchy texture.
How to make chewy chocolate chip cookies
Add 2 tablespoons brown sugar.
What does extra brown sugar do to the cookie dough?
While brown sugar is similar to granulated sugar in many ways, it has one major functional component that granulated sugar does not: invert sugar!
The two primary invert sugar monosaccharides found in brown sugar are glucose and fructose, which are actually bound together to make the disaccharide sucrose — what Americans know as our standard white table sugar.
Compared to sucrose, invert sugars caramelize at a lower temperature, and absorb and retain more moisture; fructose is particularly hygroscopic, meaning it really loves to suck up and hold onto water.
Invert sugars also interfere with recrystallization upon cooling, which helps make cookies crisp. By holding that extra moisture and delaying the sugar’s recrystallization, brown sugar has the wonderful ability to give you a moist, bendy, chewy cookie.
Does it make the chocolate chip cookie extra sweet?
While a particularly perceptive taster might be able to tell the difference in sweetness with the additional two tablespoons brown sugar, the overall sweetness level only increased slightly. It’s really just a delightfully sweet cookie at either level.
Do light and dark brown sugar work the same?
In fact, they do. The differences between light and dark brown sugar in terms of the amount or types of syrup used are usually minimal, even though you might expect otherwise given the significant difference in coloration.
How to make cakey chocolate chip cookies
Add 2 tablespoons milk.
What does extra brown sugar do to the cookie dough?
Although it may seem obvious, the most important role extra milk plays is adding a little more liquid. As cookie dough is very low in hydration, that two tablespoons of milk have more of an impact here than in something with higher hydration, such as cake batter.
Milk is around 85% water — and that water will evaporate in the heat of the oven to form steam. This steam will migrate to air pockets created by the melting sugar grains.
As the steam gets hotter, it teams up with gases produced by the leaveners, expanding those air pockets. That expansion causes the cookies to puff and rise in the oven, creating an airy, cakey texture.
The moisture contributed by the milk will also increase spread and hydrate more of the starches in the flour. These hydrated (gelatinized) starches support the structure of the air pocket wall, keeping the cookies from collapsing once cooled. By holding more water, they also help keep the cookies softer over time.
Why milk and not water?
While milk is mostly water, those other little molecules in milk do serve a purpose. First, their presence means that there’s 15% less liquid being added to the dough, and this helps prevent the dough from spreading too far and turning into some less-than-ideal chocolate chip pancakes in the oven.
The proteins in milk — about 3% to 4% — will enhance Maillard reactions (as discussed above) and contribute many of the flavor notes that we recognize as “baked,” giving the cookies their roasted, toasted, and even sometimes nutty notes. Finally, the fat and sugar from the milk also add extra tenderness and richer flavor.
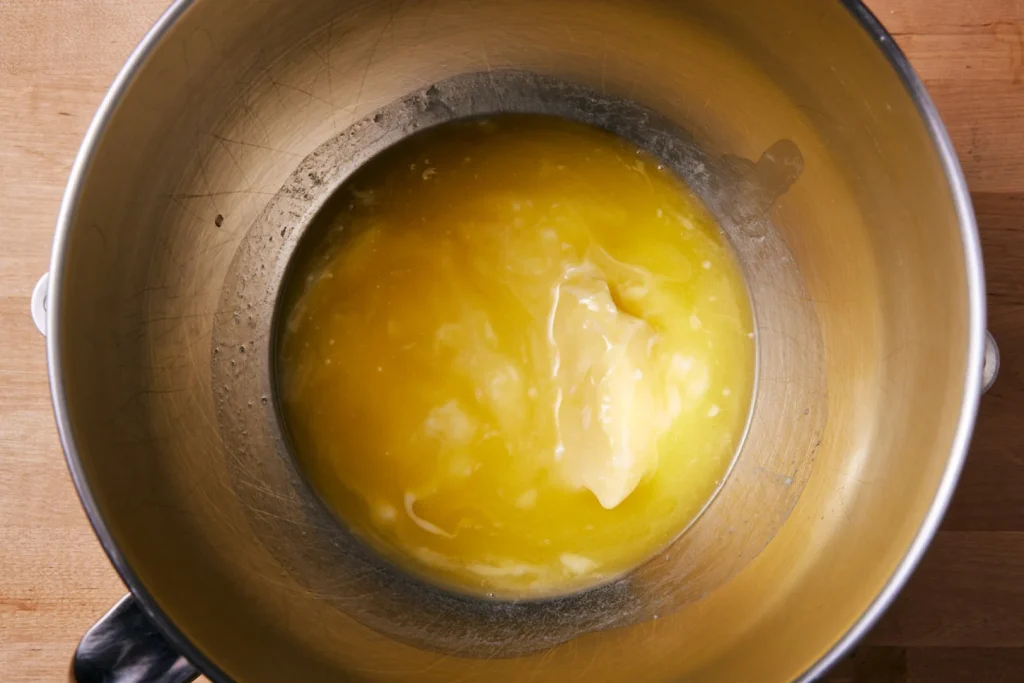
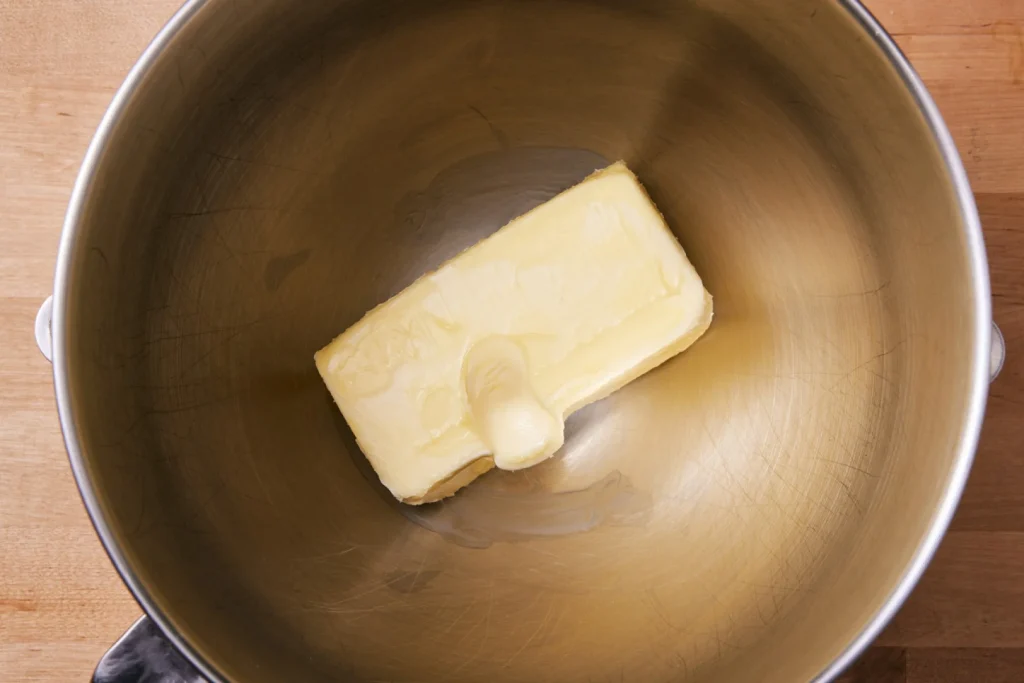
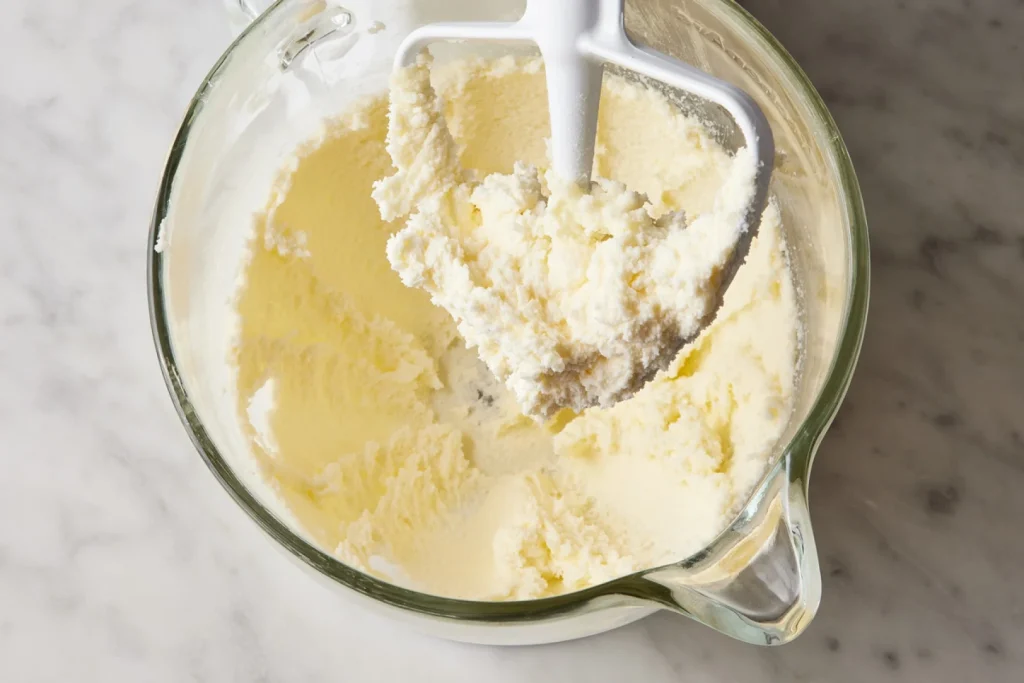
Sugar creamed with warm or melted butter is grainy and greasy.
If your butter is just right
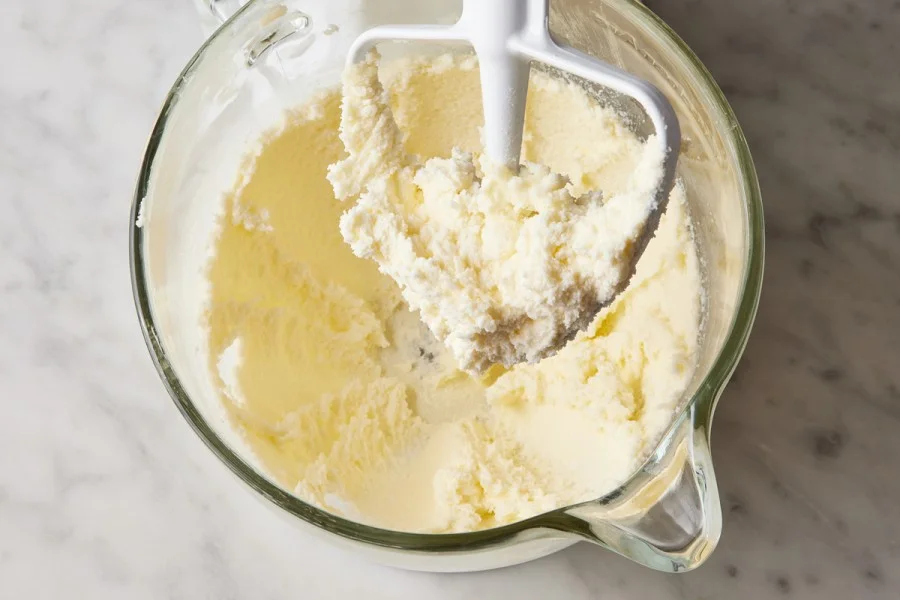
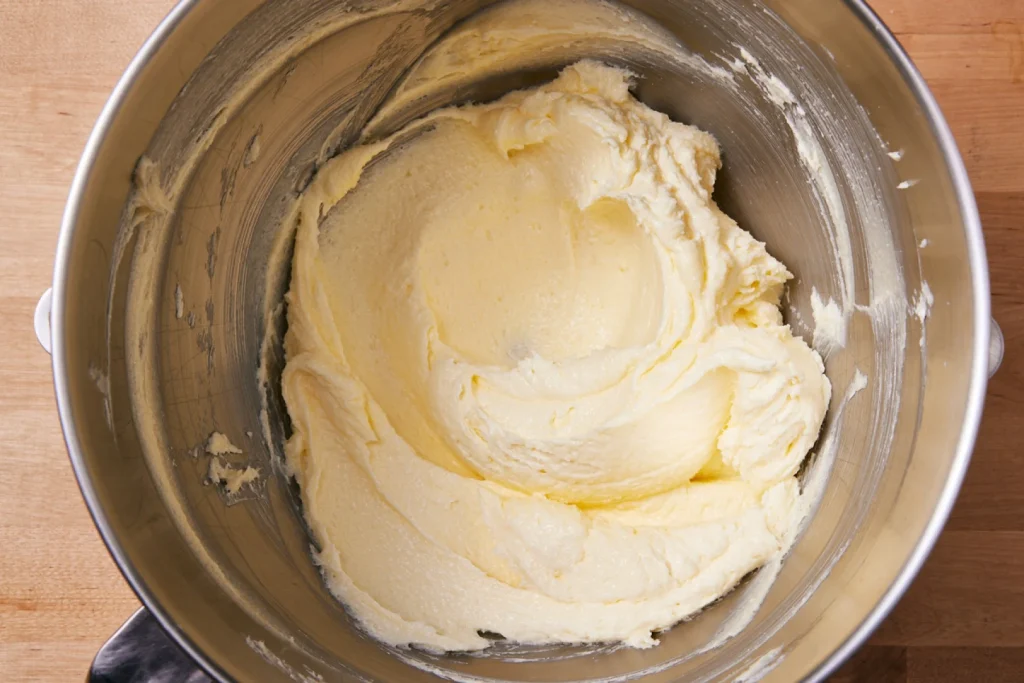
Now that we’ve seen both extremes, let’s check out the results when the butter is at the right temperature. The mixture is lightened in color, it’s visibly fluffy, and it’s not clinging to the sides of the bowl.
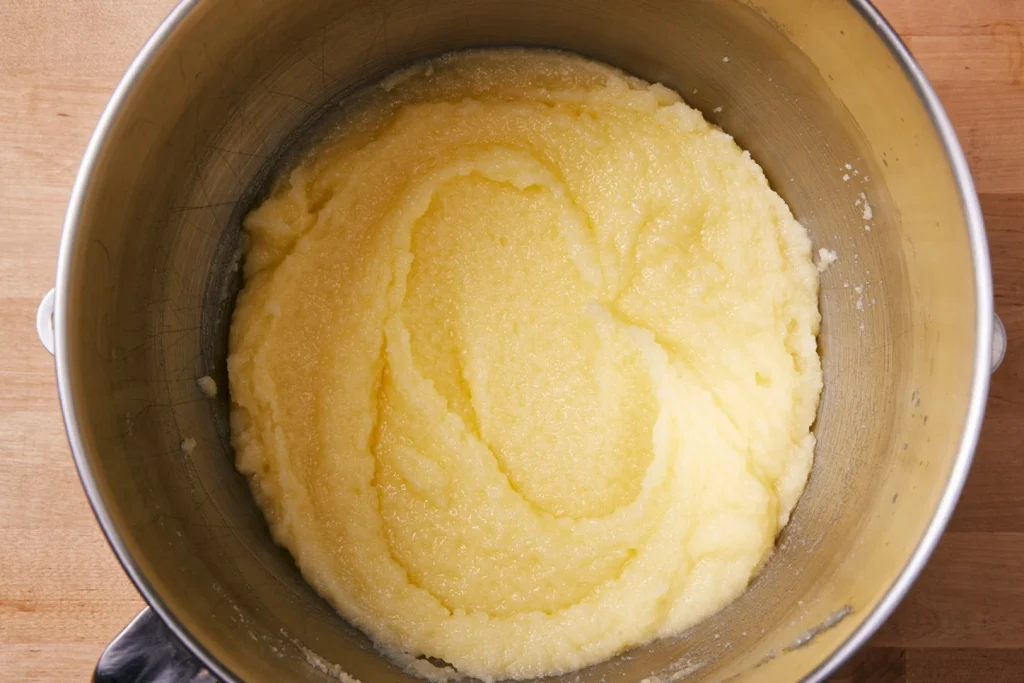
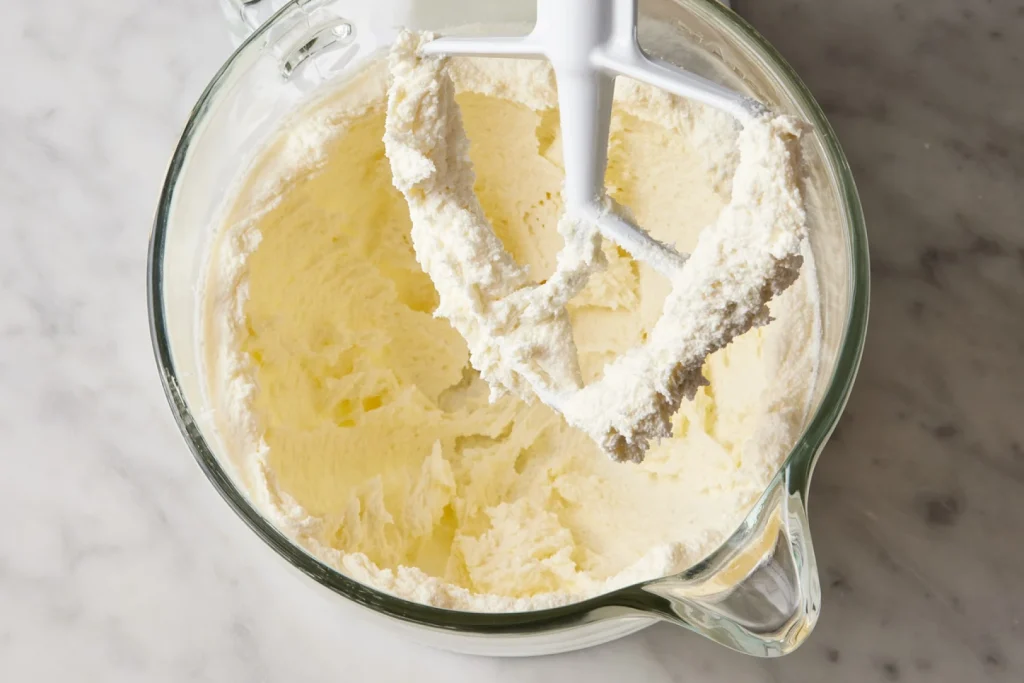
Sugar creamed with room temperature butter is pale and fluffy.
Let’s look at the three results side by side. Starting on the left: too cold and the mixture sits in a lump. Too warm, and the mixture spreads out and has an oily layer. Finally, properly creamed, the mixture sits up tall and has visible fluffy peaks.
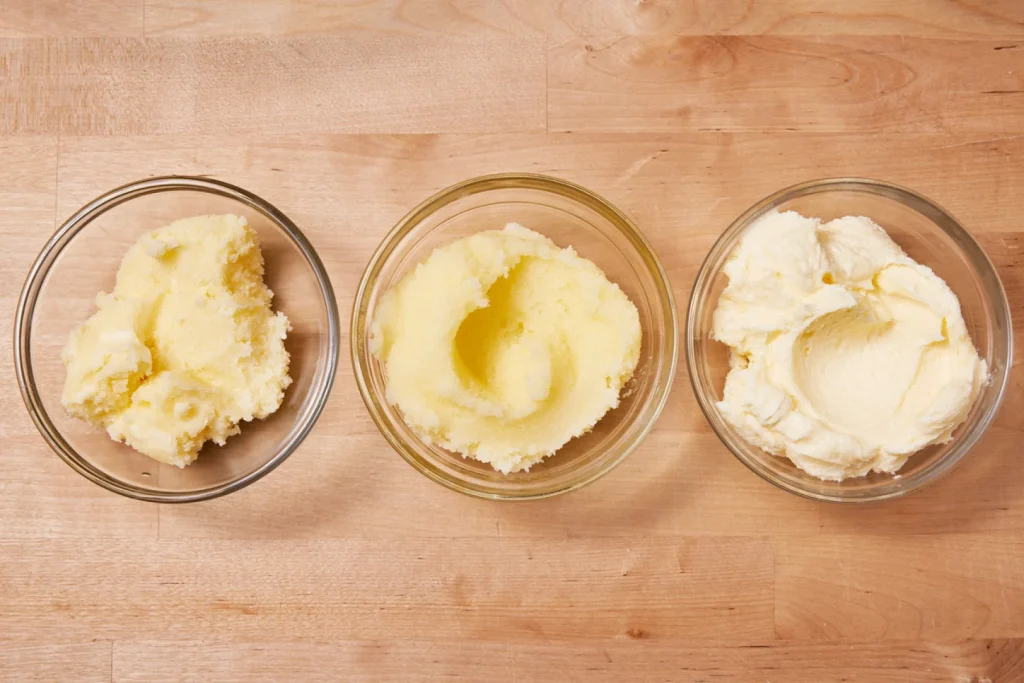
From left to right: sugar creamed with cold butter, warm butter, and room temperature butter.
Besides looks, the feel of each mixture will be different as well. Under-creamed and your mix will feel like wet sand or damp cornmeal. Over-creamed, and your mix will have the feel of oil and sugar on your fingers, rather like a facial scrub. Your well-creamed mix will be moist and light and the sugar will be nearly dissolved. You’ll barely feel any grit when you rub it between your fingers.
The right mixing speed and duration for creaming
Of course, having correctly softened butter is just one part of the equation, albeit a big one. Mixing at too high or too low a speed and for too short or long a time will also wreak havoc with your creaming. With the advent of the more powerful stand mixers that we use today, gone are the days of having to whip the butter and sugar mixture on high speed for several minutes to achieve good results. Instead, a moderate speed (typically speed 3 to 4 on a stand mixer) for 2 to 3 minutes is sufficient to get the aeration you’re looking for, being sure to scrape the bowl halfway through.
Under-creamed butter and sugar
If you under-cream your butter and sugar mixture, it will remain dense, grainy, and dark in color:
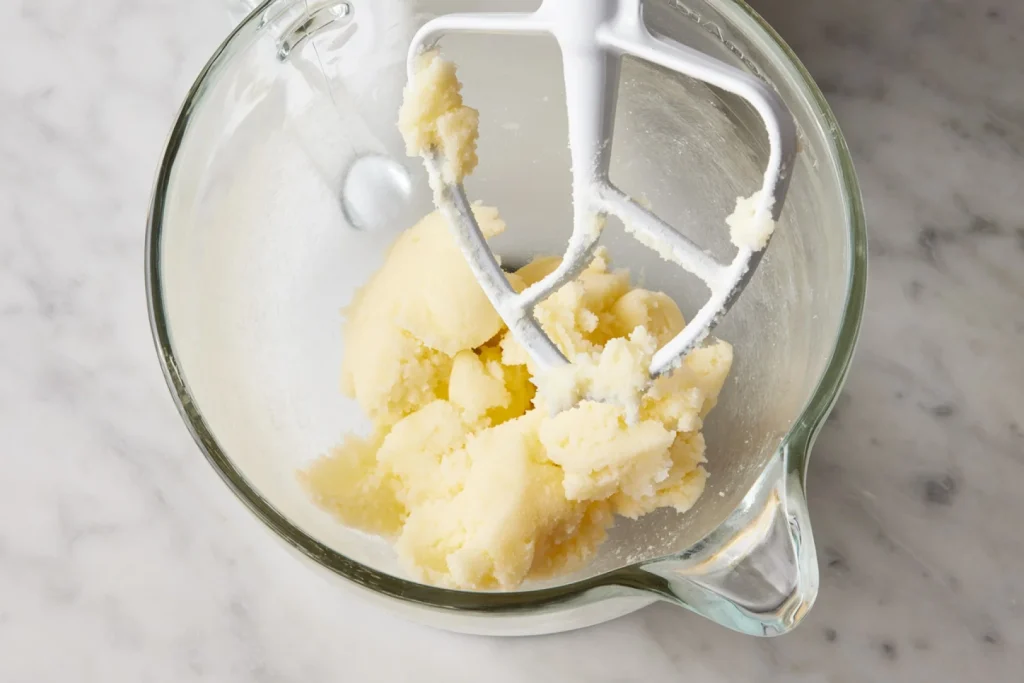
Under-creamed butter and sugar
If you under-cream your butter and sugar mixture, it will remain dense, grainy, and dark in color.
Correctly creamed butter and sugar
Perfectly creamed butter and sugar should be light, fluffy, and pale in color (but not white).
Perfectly creamed butter and sugar
Perfectly creamed butter and sugar should be light, fluffy, and pale in color (but not white).
Over-creamed butter and sugar
If you beat too long and hard, the mixture will be over-creamed, becoming nearly white in color. Because it’s too aerated, it can result in dense, gummy streaks in your cake when baking.
Over-creamed butter and sugar.
Unfortunately, if the butter and sugar has gone this far there’s no going back. We hope you’ve found this information helpful. A picture is worth a thousand words, they say, and we hope these photos and our video will help you achieve the cakes and bakes of your dreams.